|
In my last post, I showed you the first part of my "how-good-is-Annie-Sloan-chalk-paint REALLY?" experiment. I started wondering near the end of the first coat why I hadn't started with something small like say, a picture frame, because this table is a beast and it seemed to be taking forever. I always start out with a painting project and think, "this is fun!" It was so quiet and calm, and I had my 5-year-old painting this cardboard box next to me: 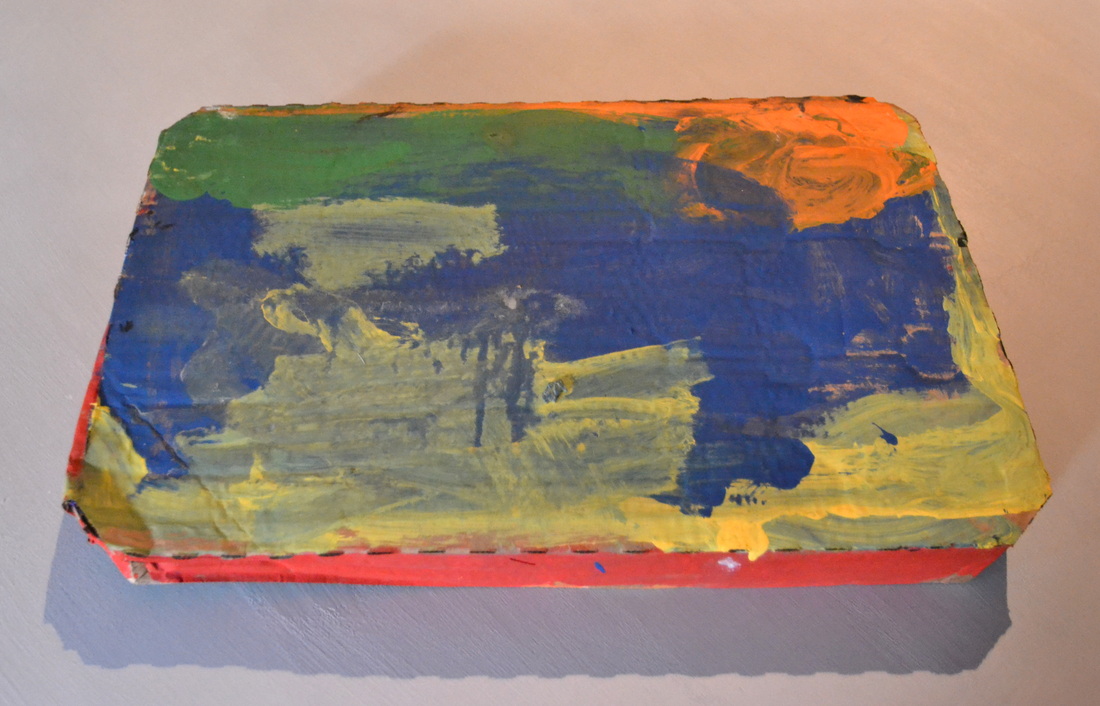 About 15 minutes in, I start to think, "wow, this table is BIG. This is going to take me a while." And wax too? Man. Remember how I was going to paint every wood surface in my house? Yeeeeaaahh, that may not happen. But really, it didn't take long at all. I put a second coat of paint on the top, and touched up the legs and some other areas. I'm learning: this is really meant to provide an aged look, so it won't be perfect...but when the second coat dried {and I still saw brush marks, which made me a little twitchy but I'll get over it} I realized how nice, matte, and mellow the finish turned out overall. I also realized that you really do need the wax to protect the finish, and even then, you have to be OK with imperfection. I mean, PATINA. ;-) Here it is after the second coat dried. Are you thinking what I'm thinking? Yeah, I could have saved myself the trouble of a second coat because it really looks no different at all: 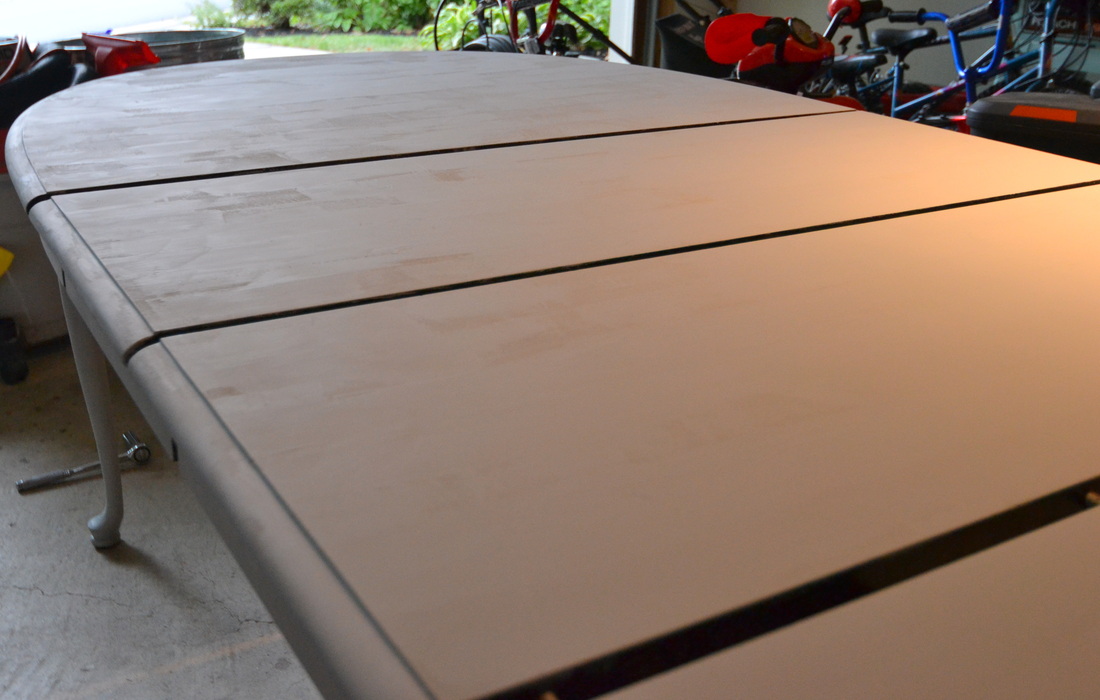 But moving on to the wax. It's called "Soft Wax" and it's clear. It's meant to protect, and also refine, the finish. Protection is needed because I put a glass of water on the painted finish and it definitely left a mark. Apparently you can also get a dark wax, which {I assume} would provide a more pronounced aging effect and clearly define the edges of the piece. You can also mix the paint with the wax to make a tinted/colored wax, but let's get through this first, shall we? ;-) As advertised, the wax was VERY soft. There are "wax brushes" you can buy, but I didn't feel like doing that, so I used paper towels to rub it into the finish, which worked fine until I noticed that tiny bits of paper towel were getting stuck in the wax. Gahhh. So I switched to an old white pillowcase and I was good to go. Immediately, I noticed that the wax darkened the paint by a few shades, which I loved, since "Paris Gray" initially didn't seem very gray at all. But as promised on the can, it lightened up when it dried. Oh well. It still looks pretty. The wax also buffed out some of the more egregious "patina" and gave the table a very subtle sheen. In my vast research {I read one post and I can't even remember where}, I learned that applying the wax should be like applying conditioner to your hair, i.e. no residue, greasiness, or tacky texture. Once I applied two coats, I wiped the whole table down. Unfortunately, I couldn't accurately capture the finish in a photo, but I do have this little gem for you: 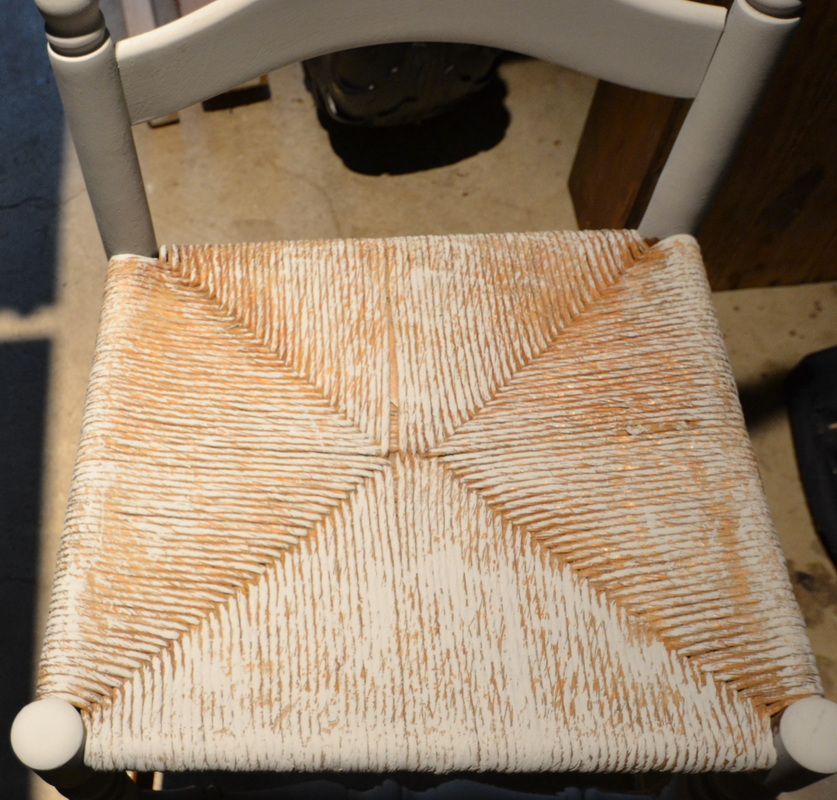 Annie Sloan, if you're reading this {and I know you are}, I found it! The one thing that your paint is NOT good for: rattan chair seats! You didn't think I could stick to just the table, did you? ;-) I'll be back with the finished table {this time I mean it!} and hopefully 8 chairs too. And maybe a bench, a mirror, a mantel...my car, the neighbor's dog... :-) 
16 Comments
7/18/2012 10:19:18 pm
I'm thinking that the big selling point on this is to use the paint AND the wax to give things an old finish worn finish. If that is what one is wanting, then it is probably good for that. I think I have 2 pieces in the entire house that have that kind of finish. Maybe that is why I haven't jumped on the band wagon yet. Your table IS huge! You must be painting nonstop to do all that you are doing! Good luck girl! Thanks Kelly! In person, the finish is more "Restoration Hardware" than "shabby chic," because it's not distressed at all...but you're right, it's a very specific aesthetic. I've been painting at night and super-early in the morning, so luckily the weekend is almost here so I can just finish this thing! 7/19/2012 01:02:25 am
i love that paint color you chose. looks really good. i'm sure it was some hard work, but it paid off! Aimee - thanks for stopping by my blog today and commenting. As a confession, I'm just now experimenting with Annie Sloan Chalk paint too. To answer your question I used to live in Reston, then Herndon until last summer when my husband took a job in Pittsburgh. I plan to come back and check out some more of your site when the kids are in bed! 7/20/2012 02:34:18 am
You must have the buffest arms in town - that's one big table to wax! 7/20/2012 02:34:38 am
I love it!!! Thanks for checking out Stifel & Capra {I hope you went upstairs too- it will soon be a DIY central}. Next you need to come check out our Barn Sales the 3rd weekend of each month in Frederick MD {this weekend}. Hi Kelly! {Why does it seem like everyone is named Kelly? Ha!} I did go upstairs at S&C but only to see the rest of your stuff. I was in kind of a rush, but if you don't mind I want to come back and take some pictures of your note cards and your ASCP displays. I'll email you. :) 7/20/2012 04:35:40 am
Ok, well now I know that 2 coats will still leave brush marks, thank you for saving me the time and paint (once I choose a color and actually buy it). :)
I actually like the distressed look of the chair seat! I also found I needed 3 coats on the night table I experimented with using home made chalk paint (which is very easy to make, by the way ;) ). I couldn't get past the brush marks, even though that is suppose to make it look older...apparently brush marks were common in old Europe (I read more than one post while I was researching!! hehe) Your comment will be posted after it is approved.
Leave a Reply. |