|
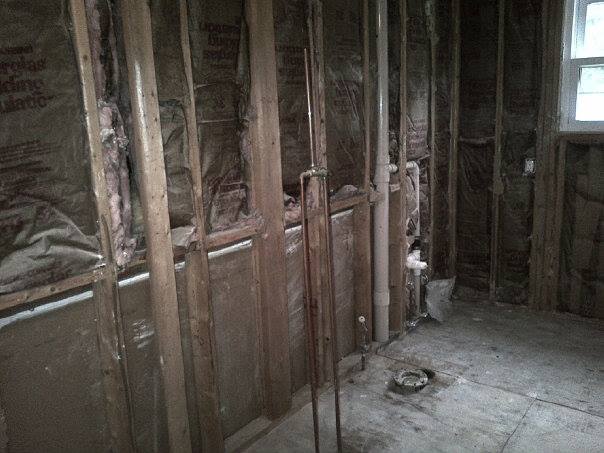
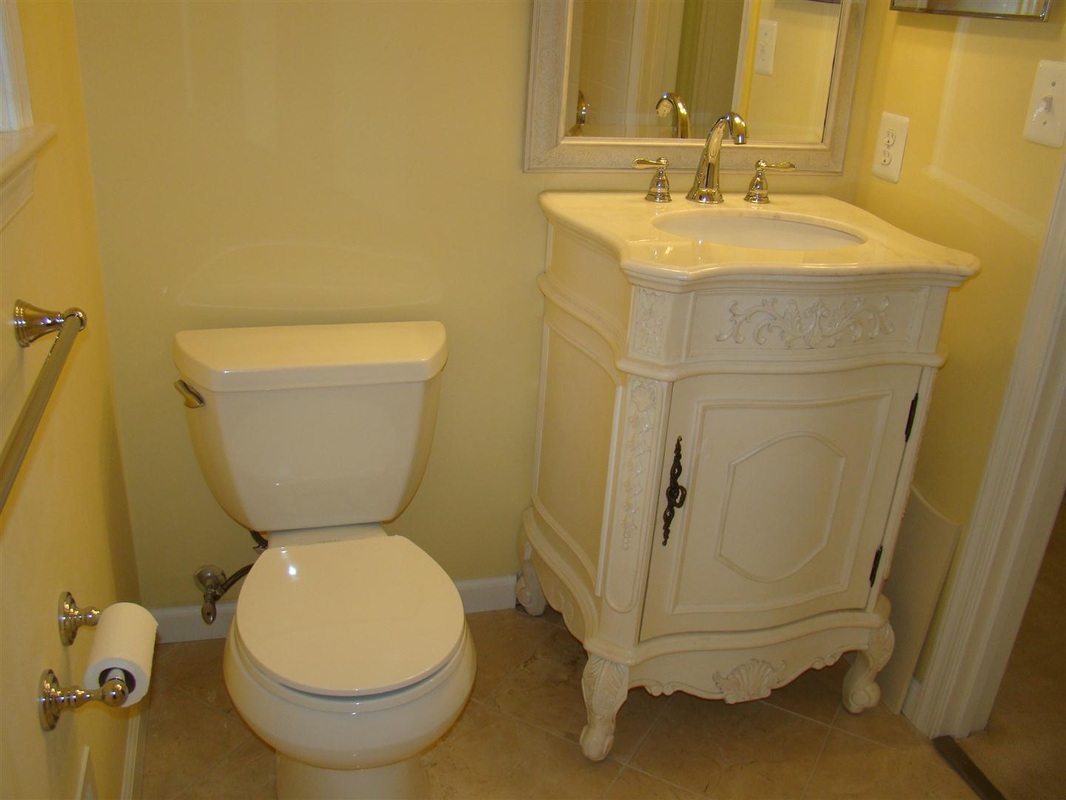
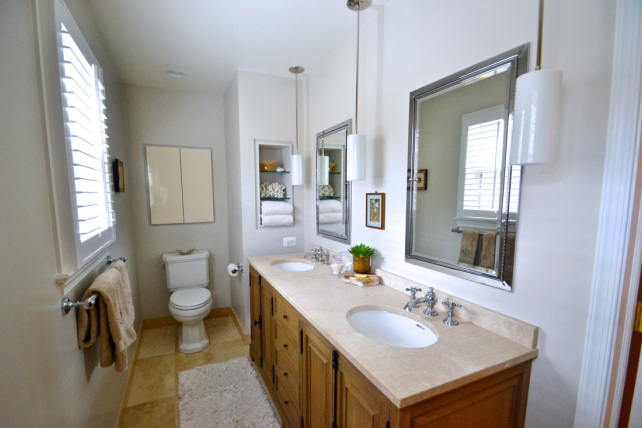
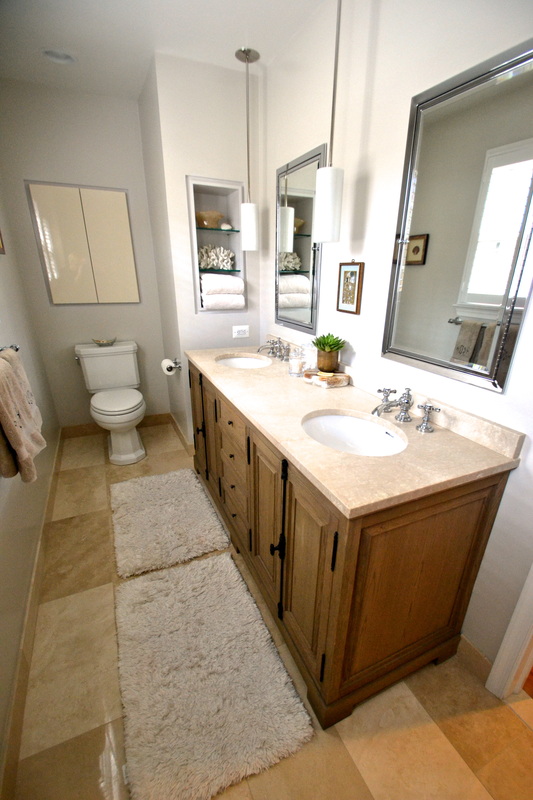
Today I'm bringing you a very, very special edition of Reston Remodelistas. My girl Audrey and I have been close friends since 1995 {that's 18 years if you're counting!}We've been roommates in Morristown and Montclair, NJ as well as Alexandria, VA. We enjoyed such unique home features as green painted floors, clothes closets in the kitchen, and bars within walking distance. We worked at Crate & Barrel together and used our discount to buy some grownup furniture and copious amounts of "schtickle" ceramics. One time, we put an old sofa by the curb and someone took just the cushions. Afterwards, someone rang our bell to ask where the cushions were. Dude, we left it at the curb...you're on your own! Ah, the good old days. But now we're all grown up, with husbands, respectable jobs, and 2 kids each! We're living the dream in Reston! No more sketchy neighborhoods, dumpy apartments, or...depressing, early 80s bathrooms! Well, well, well. What in the world do we have here? {Sad sidenote: It's nicer than mine.} Audrey's Master Bathroom Before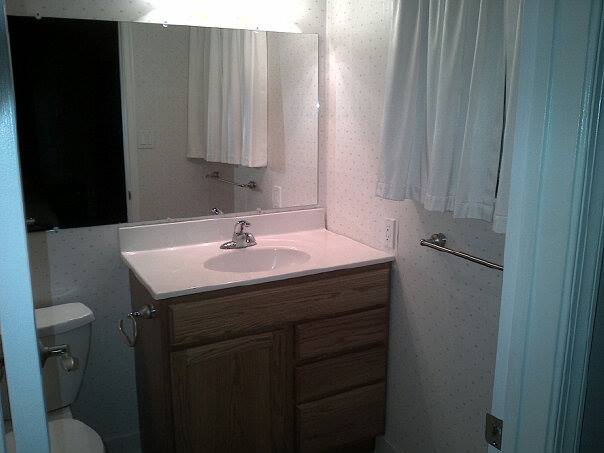 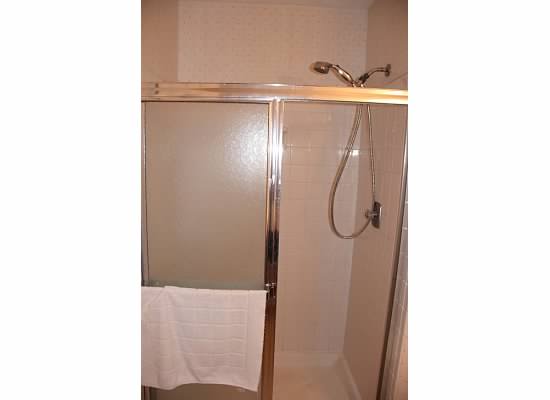 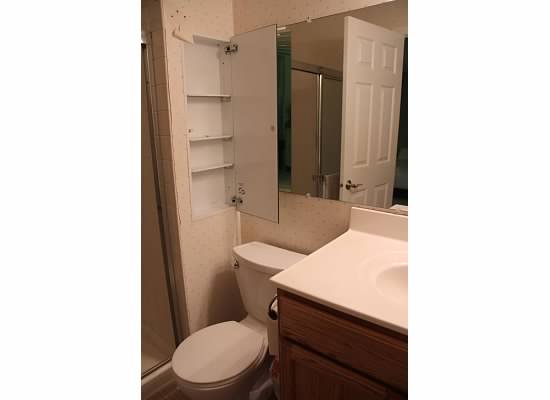 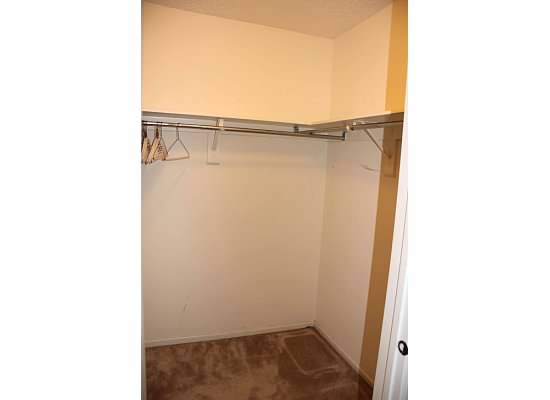 Audrey's Master Bathroom During: |

 |  |
 |  |  |
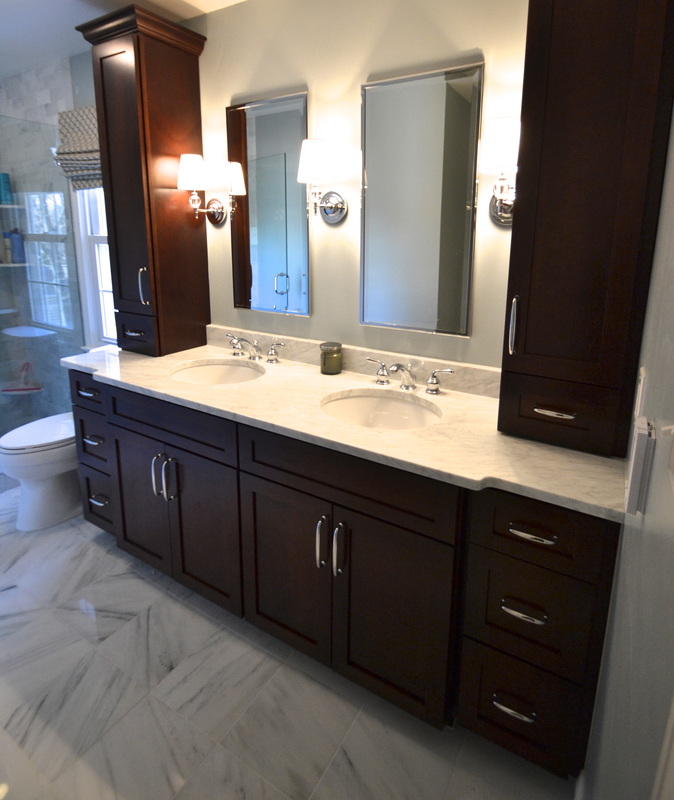
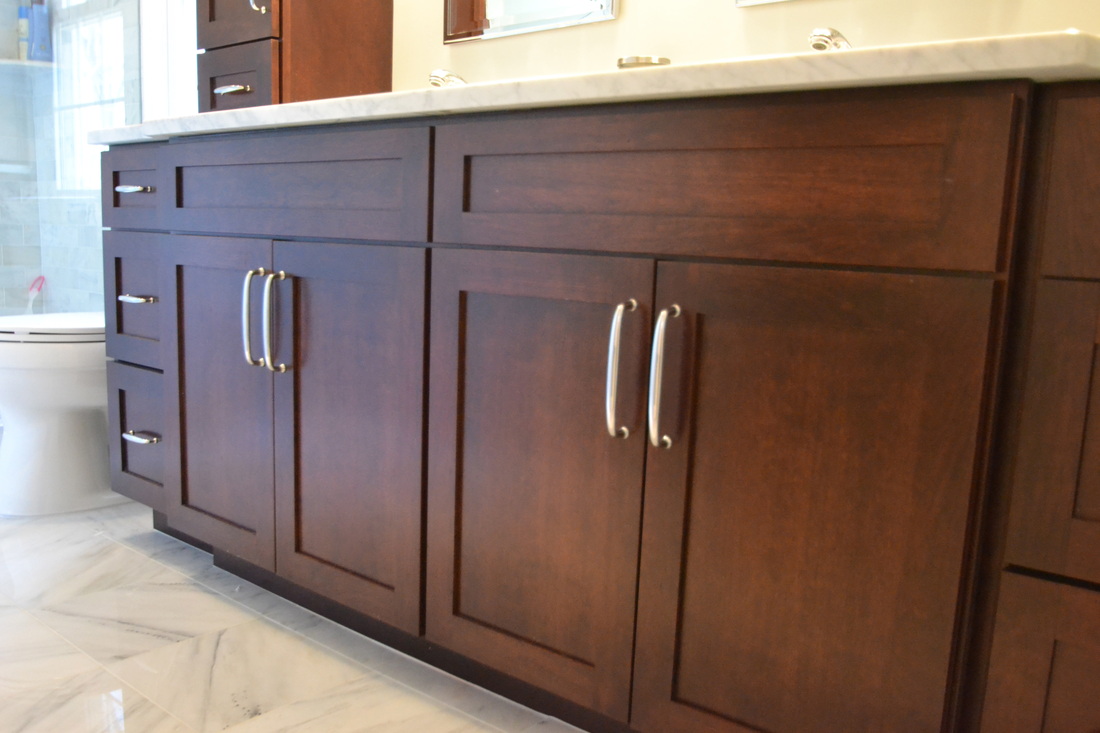
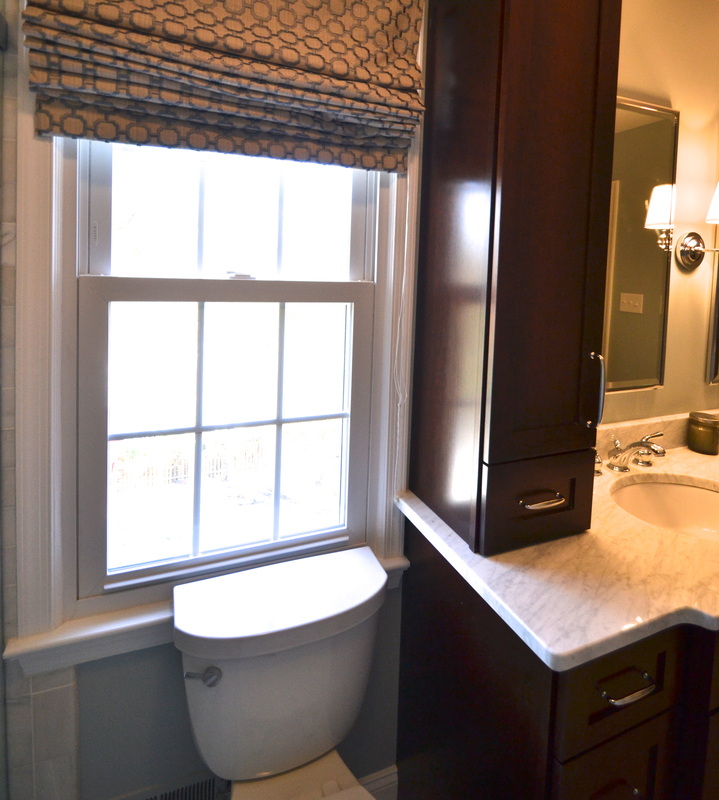
Project Summary
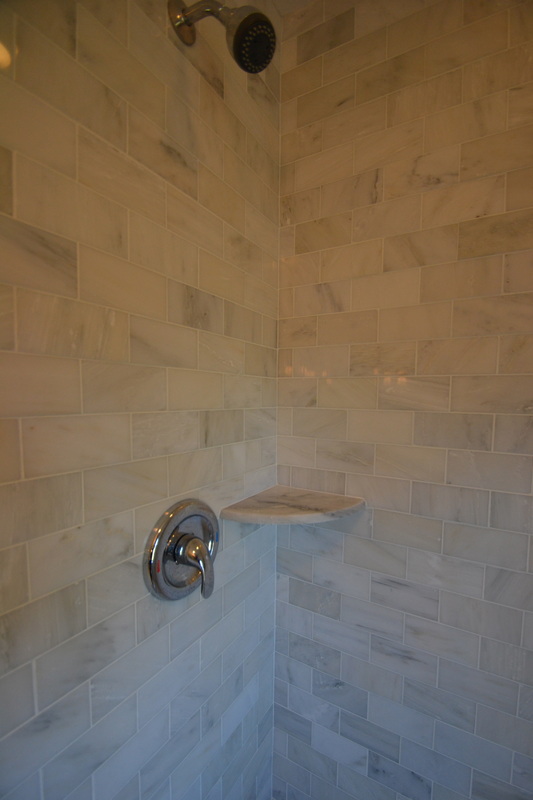
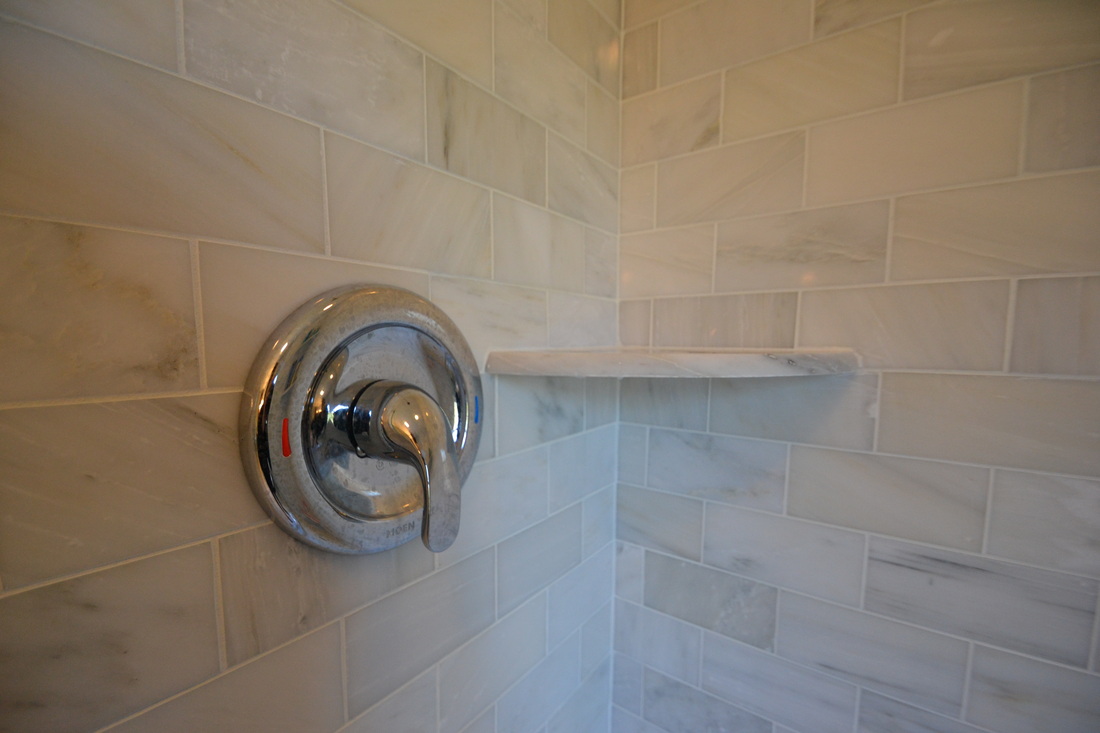
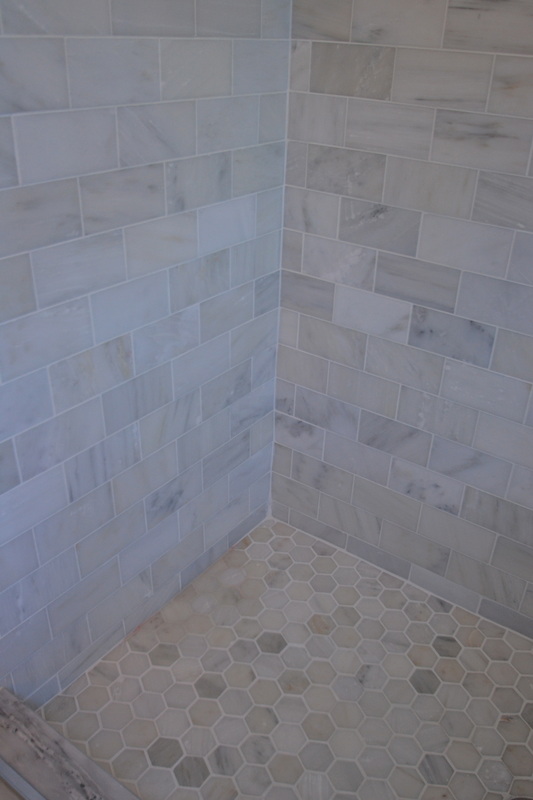
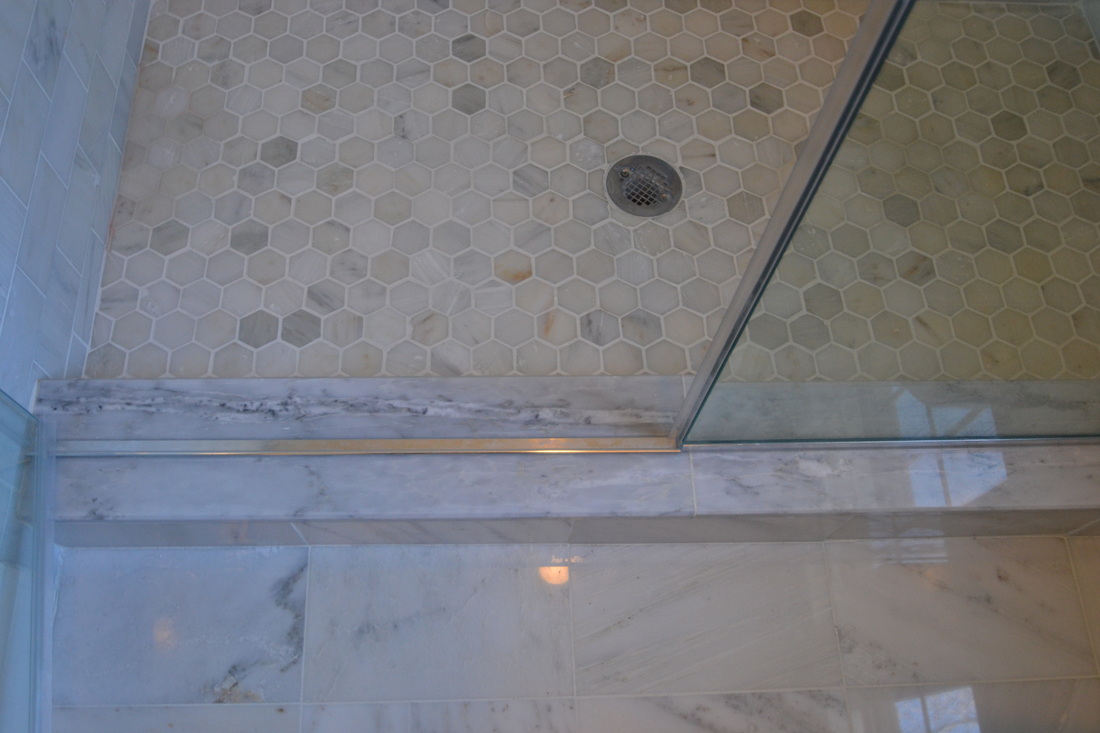
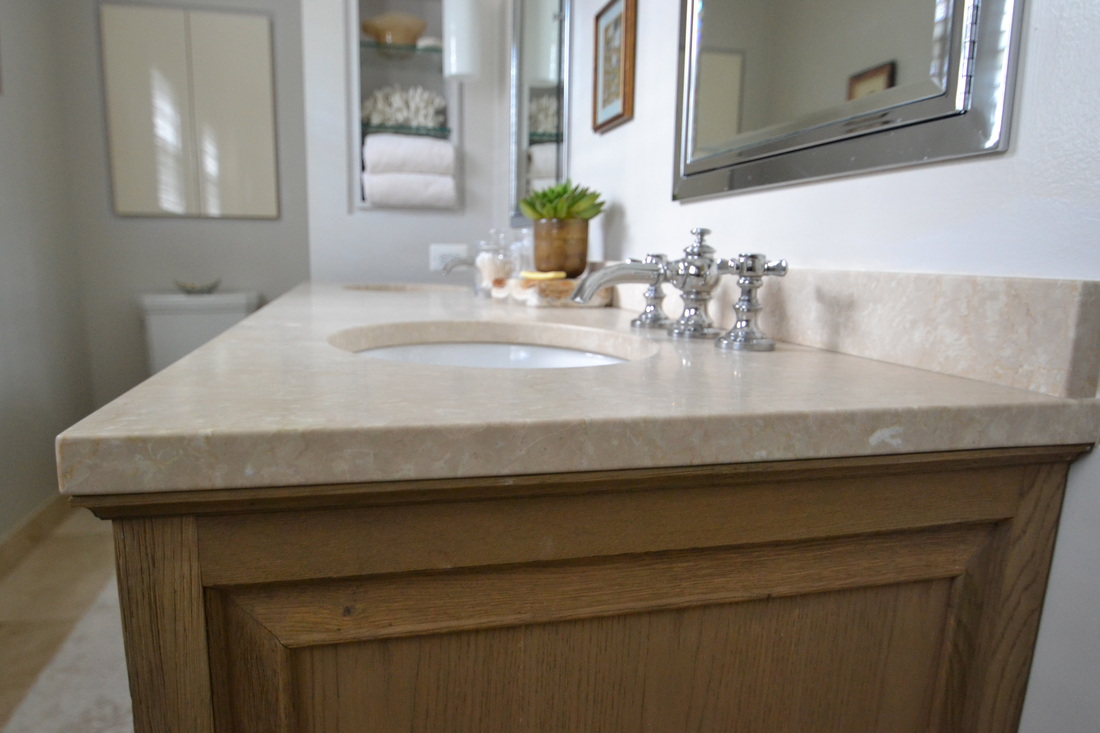
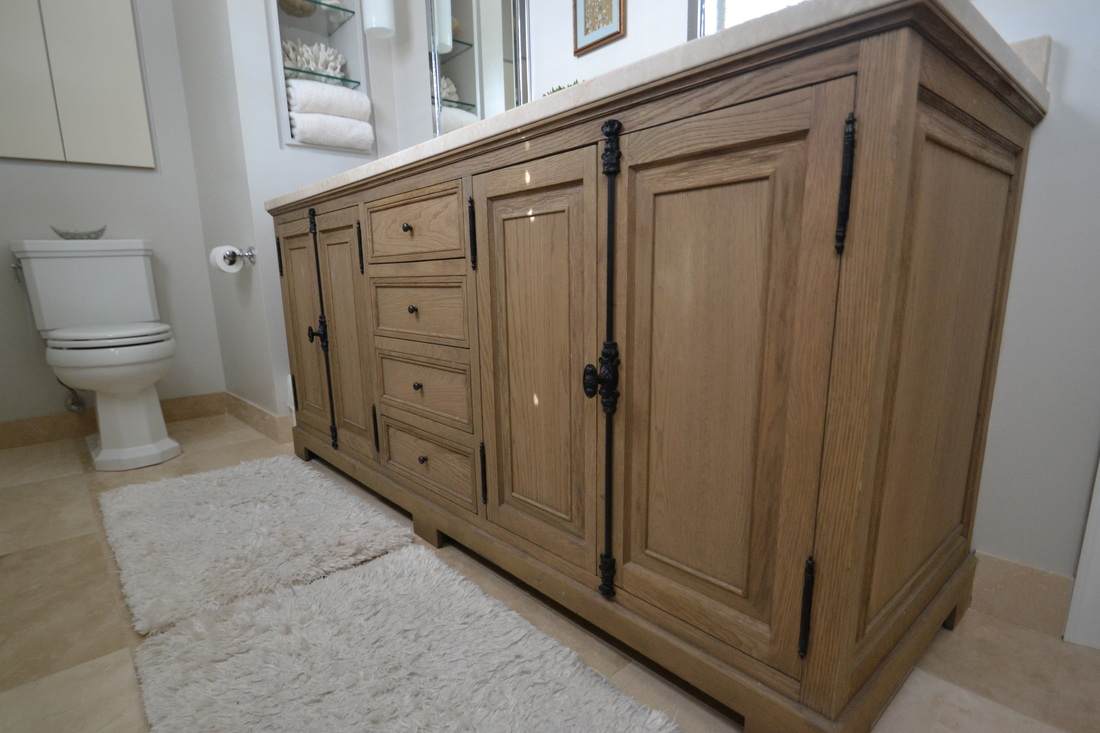
Tile: Mosaic Tile, worked with Lisa Ladson
Vanities: Ronbow, Rebecca Collection from Ferguson
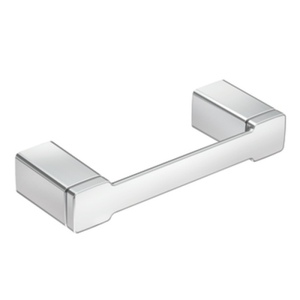
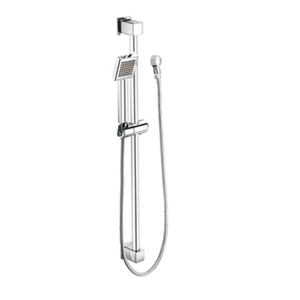
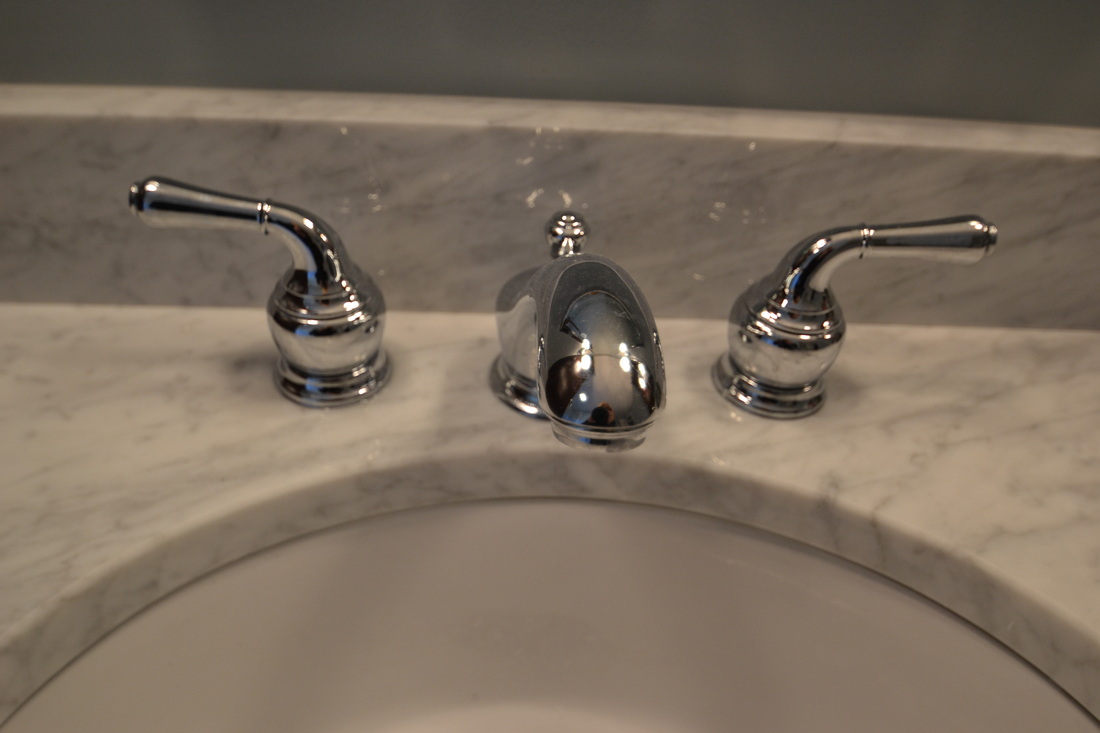
Faucets and All Bath Accessories: Moen, 90 Degrees Collection
from Ferguson
Contractor: Knowles Contracting
{Photos by NN Photography}
Vanities: Ronbow, Rebecca Collection from Ferguson
Faucets and All Bath Accessories: Moen, 90 Degrees Collection
from Ferguson
Contractor: Knowles Contracting
{Photos by NN Photography}
Thank you so, so, so much to my girl Audrey for being such an awesome Reston Remodelista! Your bathroom looks absolutely amazing!!!
Note: I'm having some issues with comments not posting {due to my spam filters, I'm sure!} If you have problems, feel free to email your comments to [email protected].
11 Comments
So, I'm in the mood for bathrooms! Anyone else...anyone?
{*tap tap*} Is this thing on? Maybe it's just me.
We're currently planning to redo both our master bath and the boys' bathroom, so I'm on the lookout for ideas, especially within my own 'hood. Enter another Reston Remodelista!
My neighbor Steph is one of those crazy overachieving types. Get this: When she was 8 months pregnant with her third child, she thought it would be an awesome time to put an addition on her house.
Hey, did I mention she's also a pediatrician? Mmm hmmm. ;-)
The space turned out amazing! There aren't any before photos, because this space didn't, you know...exist before.
So here are the After shots. I love absolutely everything about this bathroom!
 |  |
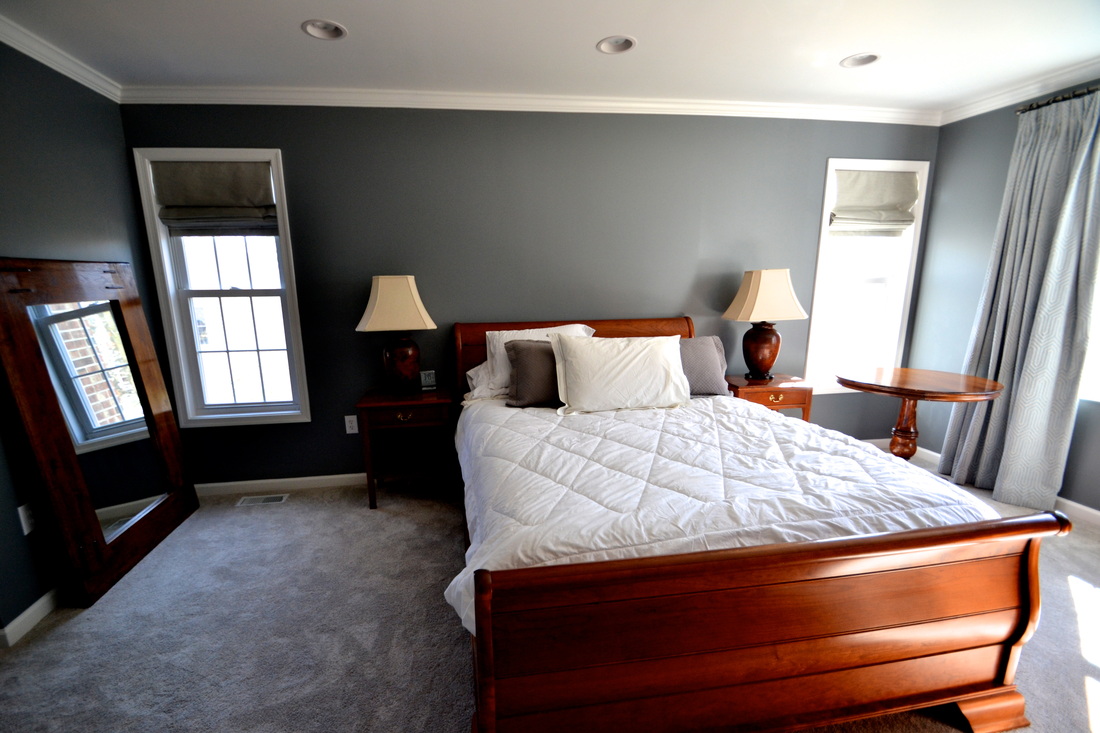
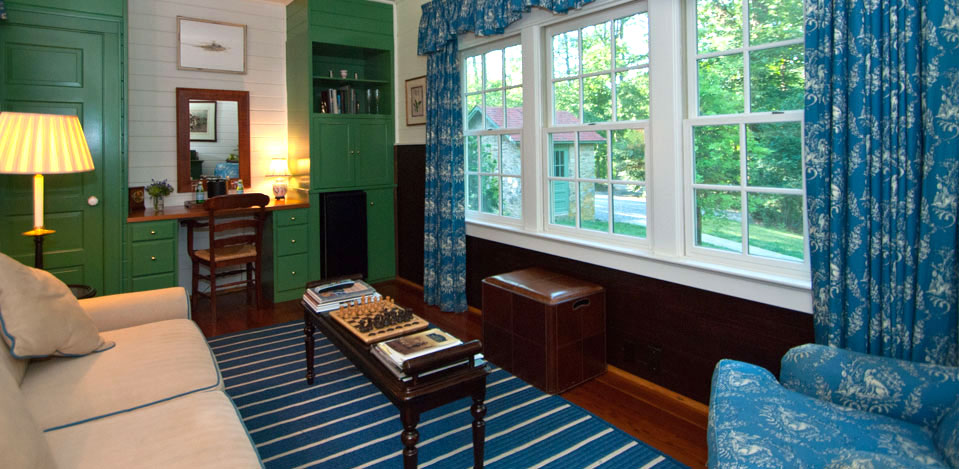
While we were trying to get completely finished shots of the master bedroom, we decided to show you the close-to-finished version.
Just imagine even more amazing bed linens and window treatments!
Just imagine even more amazing bed linens and window treatments!

Project Summary
Contractor: Dave Dickson (Dave Builders LLC)
Interior Designer: Katie Lombardi
Paint: Benjamin Moore (Whales Gray in Bathroom, Shaker Gray in Bedroom)
Panels/Roman Shades: Custom via Katie Lombardi
Bathroom Cabinetry: NVS Kitchen and Bath. Worked with Susan Wells.
Tile: The Tile Shop, Sterling. Carrera Marble subway tile on shower walls, 12x12 tile on floor, 2x2 hexagonal on shower floor
Carpet: American Carpet and Floor, Herndon
Important side note: Steph's interior designer, Katie Lombardi, will be moving to our neighborhood in July, and has her own fabulous blog! I'm sure she will be the ultimate Reston Remodelista!
Huge thanks to my awesome neighbor, Steph! Your house is beautiful!
And so! We meet again!
Muahaha...have I got a crazy before & after for YOU!
It seems like it's been a hundred years since I posted about my friend Eryn's Kitchen Facelift,
promising to "be back soon" with photos of her master bathroom renovation.
In reality, it was only about nine months.
Honestly, "soon" is such a relative term, am I right?
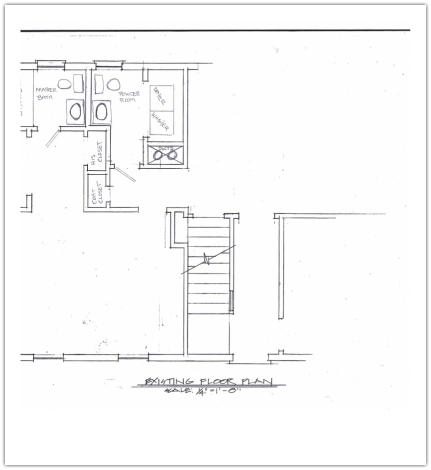
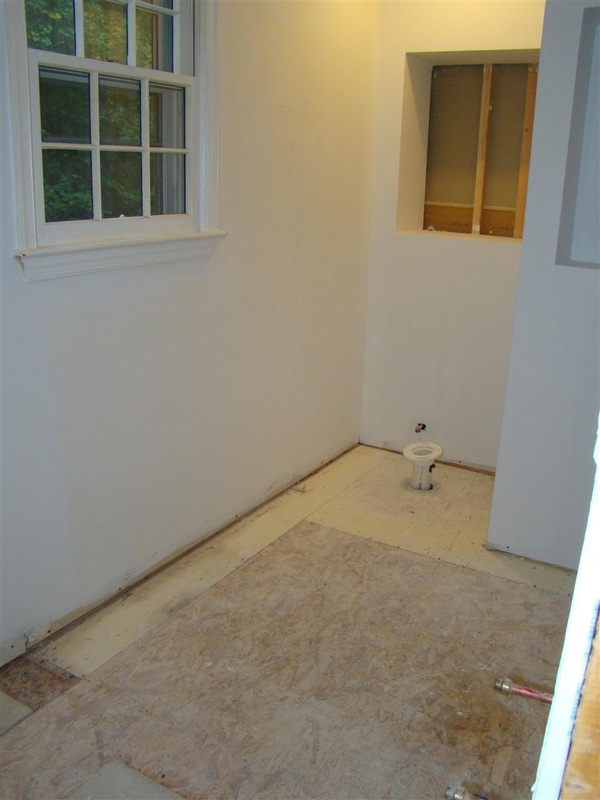
Obligatory background: We live in a neighborhood full of "cozy" {small} and "charming" {dated} cottages and colonials which were built in the early 1980s. Eryn's particular model has something which was pretty uncommon in that era: A master suite on the first floor. Which was great! But too small, and not nearly fabulous enough.
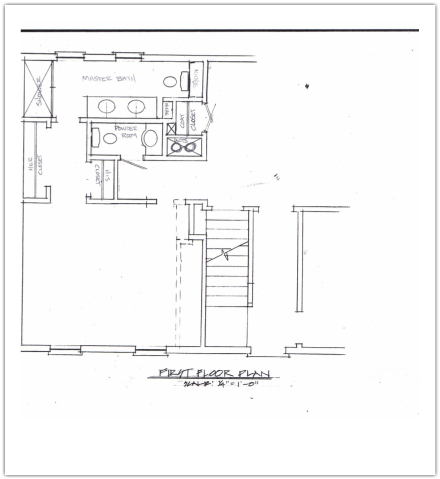
Here is the original layout:
Muahaha...have I got a crazy before & after for YOU!
It seems like it's been a hundred years since I posted about my friend Eryn's Kitchen Facelift,
promising to "be back soon" with photos of her master bathroom renovation.
In reality, it was only about nine months.
Honestly, "soon" is such a relative term, am I right?
Obligatory background: We live in a neighborhood full of "cozy" {small} and "charming" {dated} cottages and colonials which were built in the early 1980s. Eryn's particular model has something which was pretty uncommon in that era: A master suite on the first floor. Which was great! But too small, and not nearly fabulous enough.
Here is the original layout:
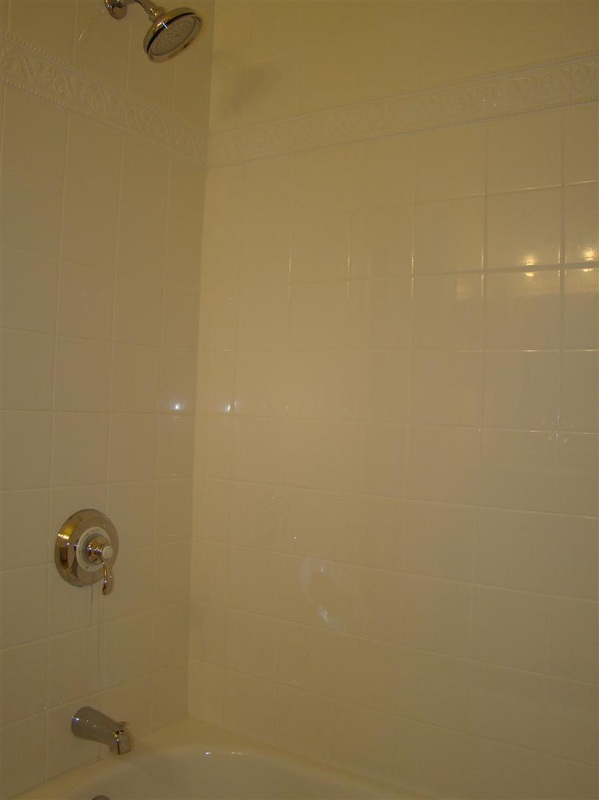
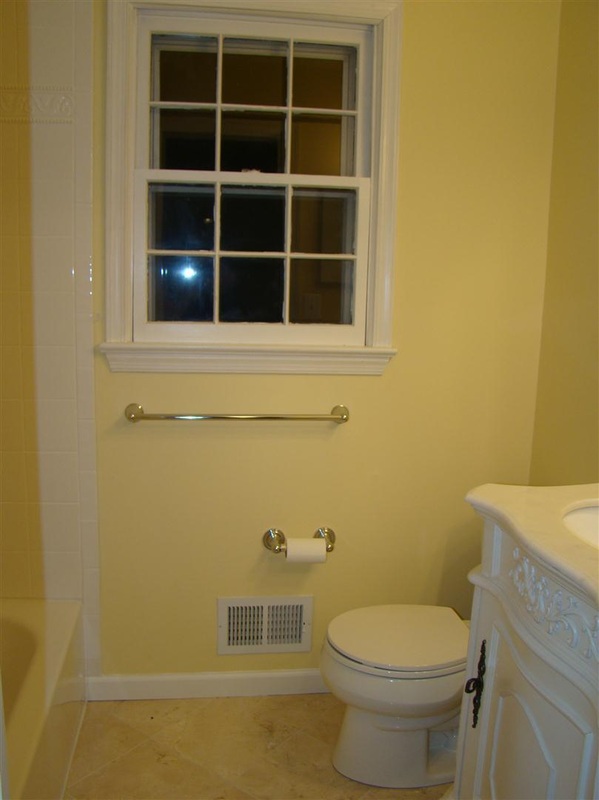
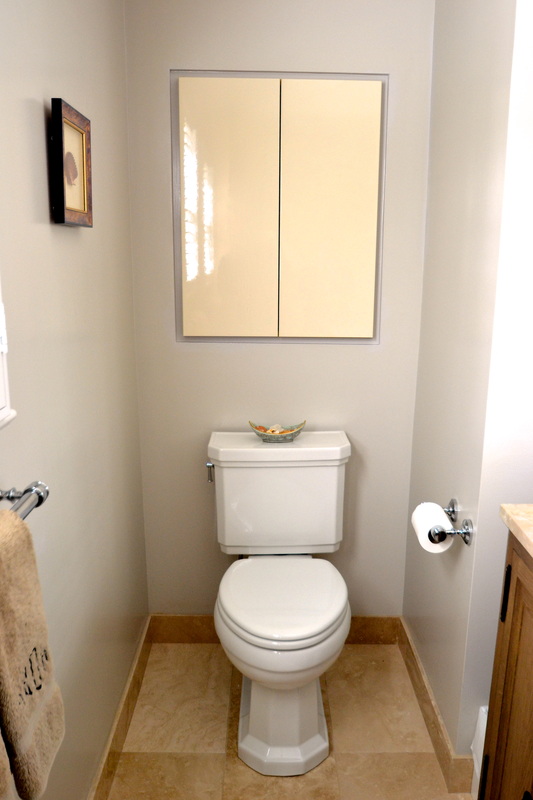
Below are the "Before" shots. Not horrible, just very small and very...basic:
Below is The Plan {insert dramatic music here}.
You can see that in addition to the master bathroom,
the powder room and closets were also completely reworked {stay tuned for those posts}:
You can see that in addition to the master bathroom,
the powder room and closets were also completely reworked {stay tuned for those posts}:
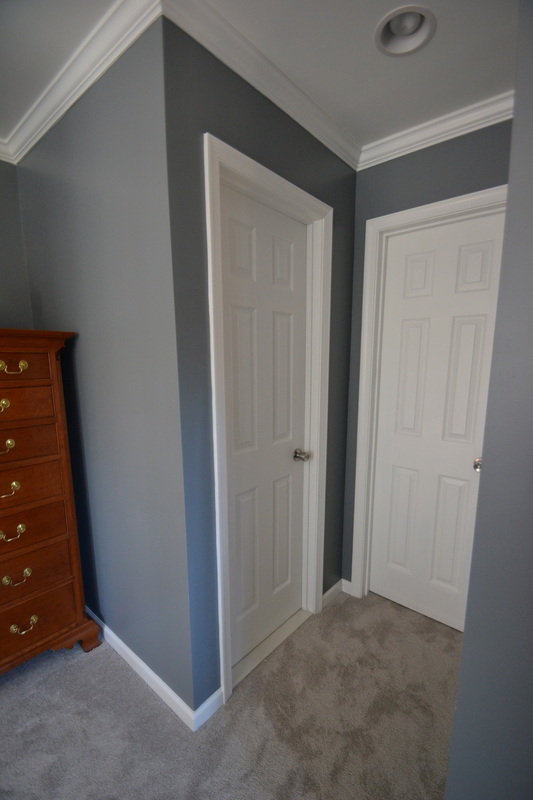
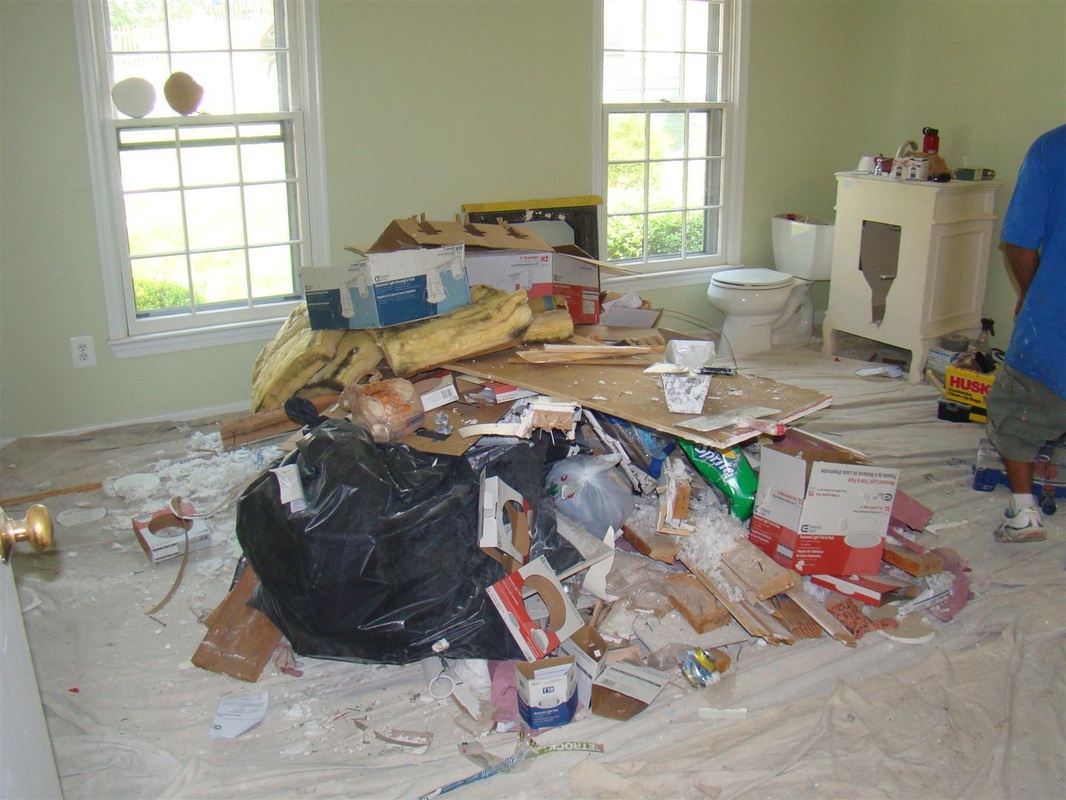
{Side note: Below is my absolute FAVORITE kind of "During" photo.
Whoa mama! What a mess. I love it...because I didn't have to live with it!}
Whoa mama! What a mess. I love it...because I didn't have to live with it!}
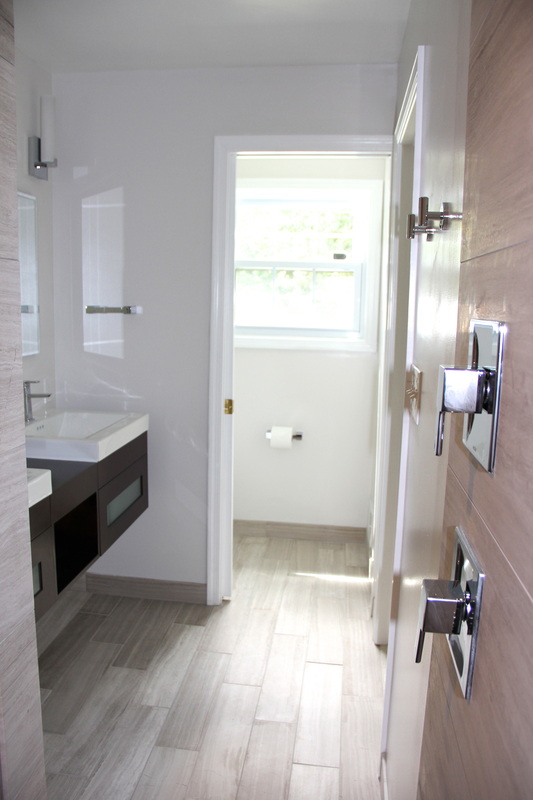
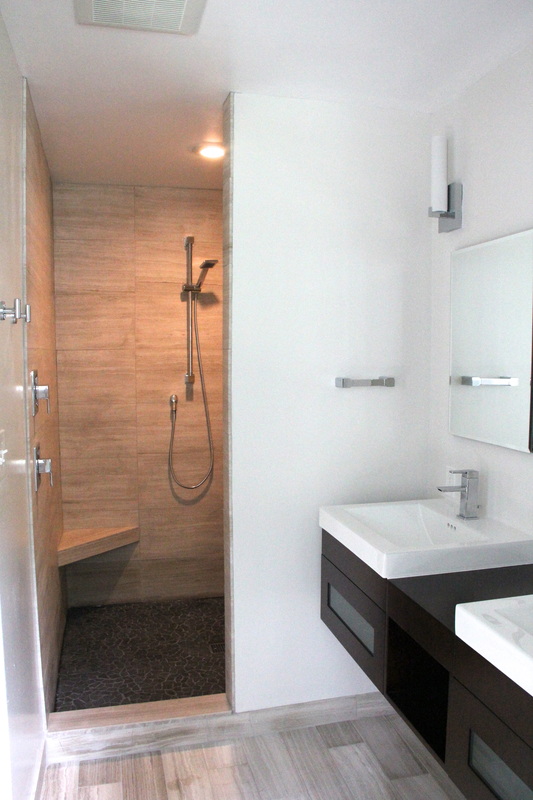
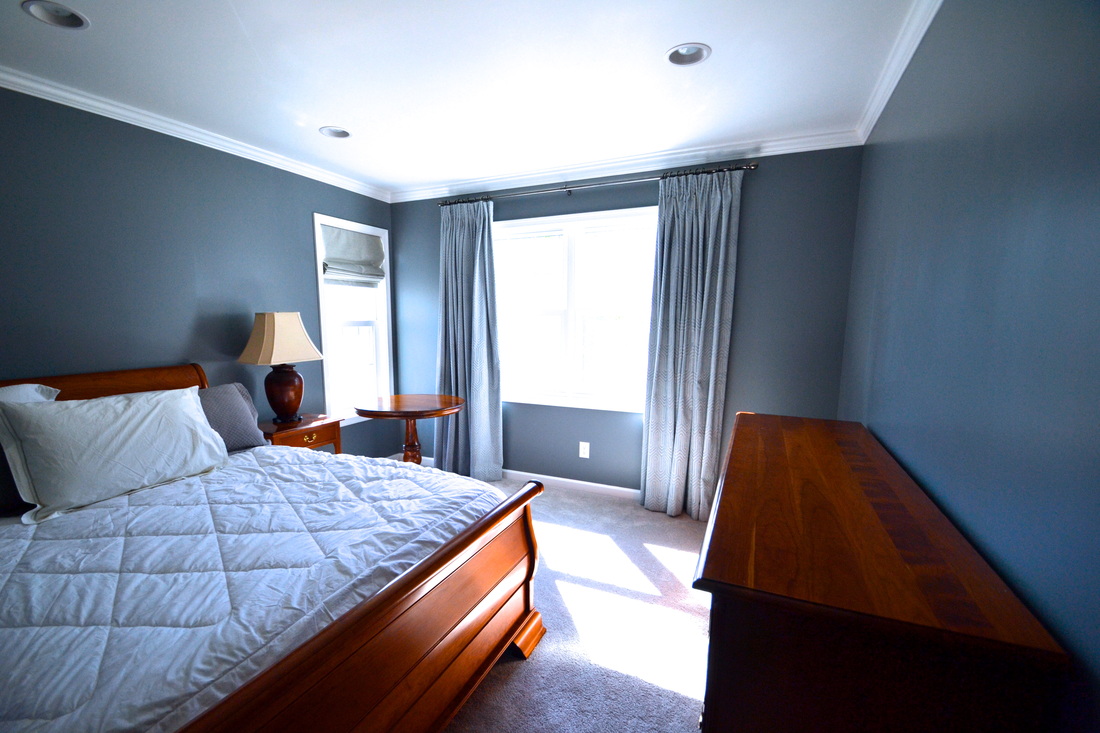
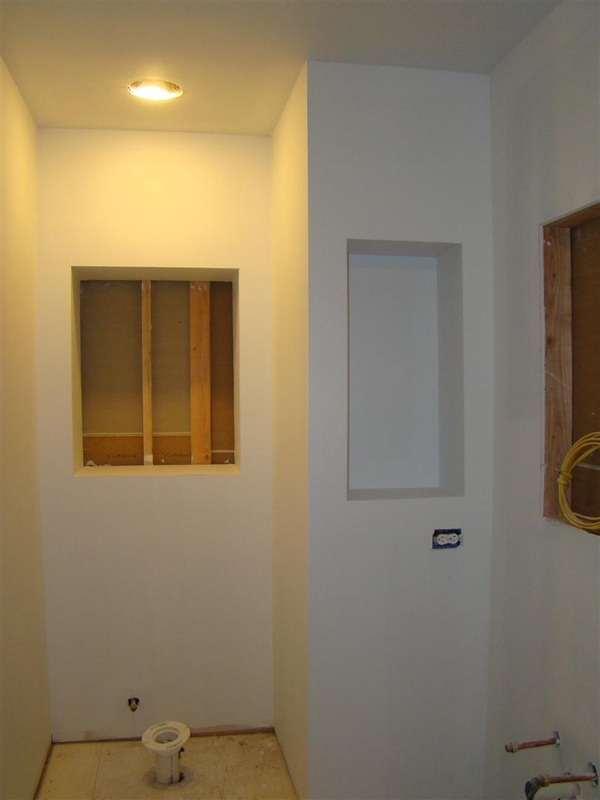
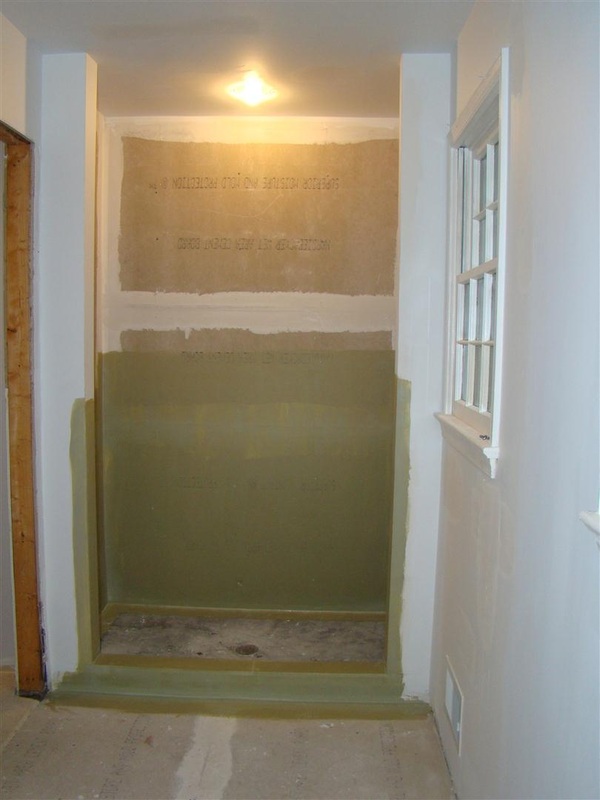
And finally...below are the "After" shots.
I'm truly in awe of Eryn's incredible vision and tenacity
{and she obviously had some awesome contractors, too}. ;-)
What. A. Project.
I'm truly in awe of Eryn's incredible vision and tenacity
{and she obviously had some awesome contractors, too}. ;-)
What. A. Project.
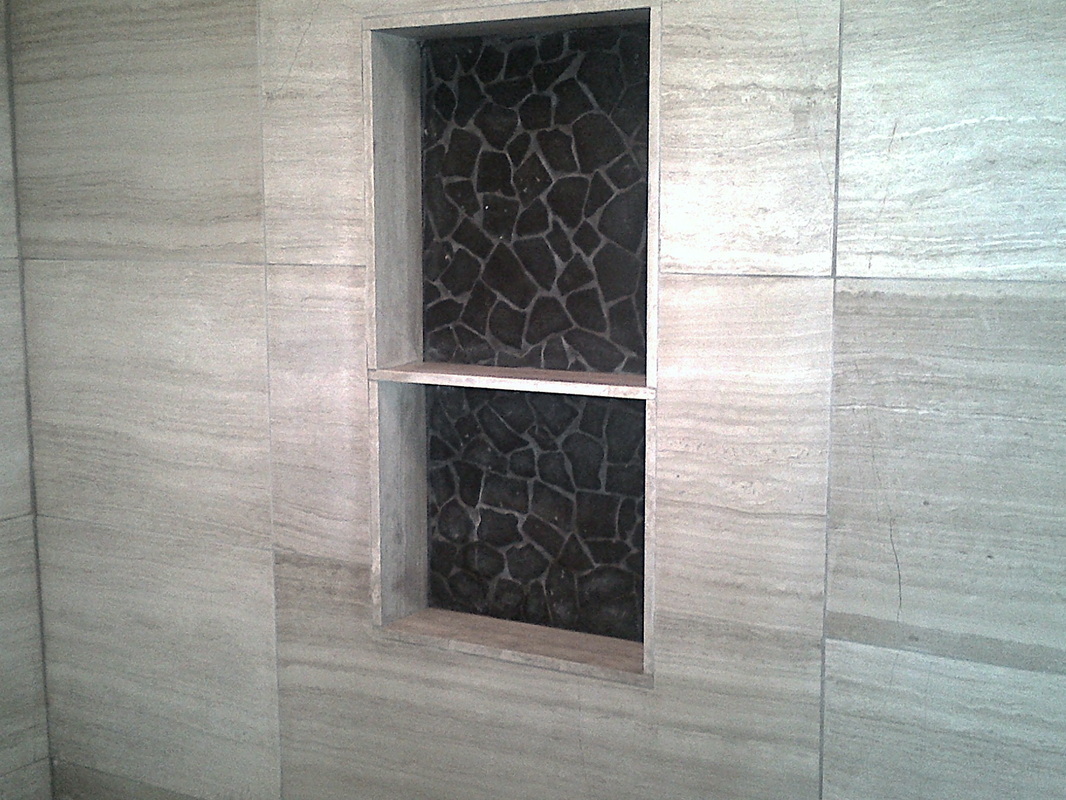
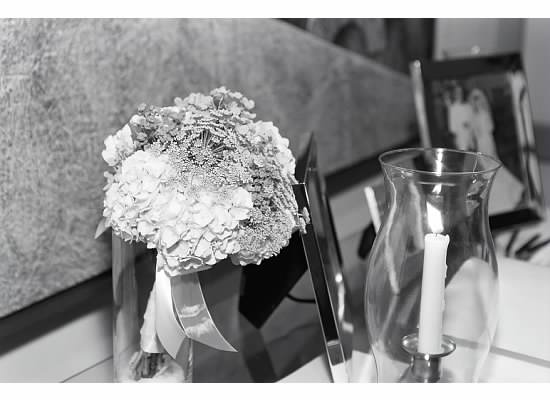
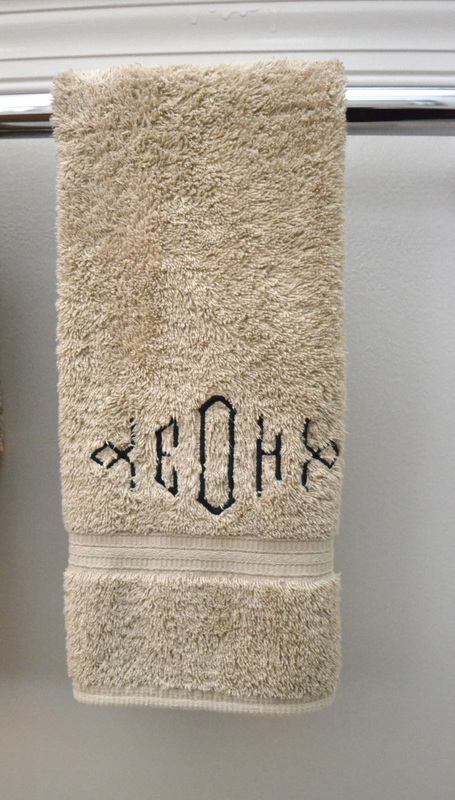 |  Details, beautiful details...love it all. Everything is very personal and has special meaning to Eryn and her husband. 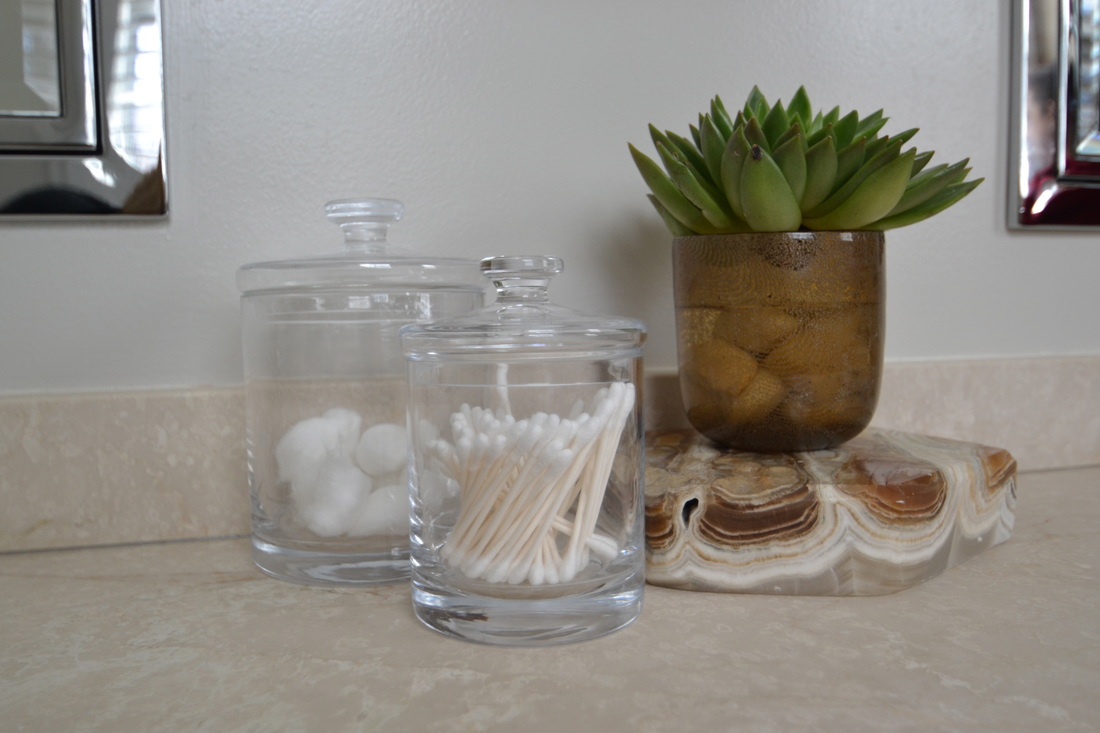 |
LOOK at this tile feature wall. I. Almost. Died.
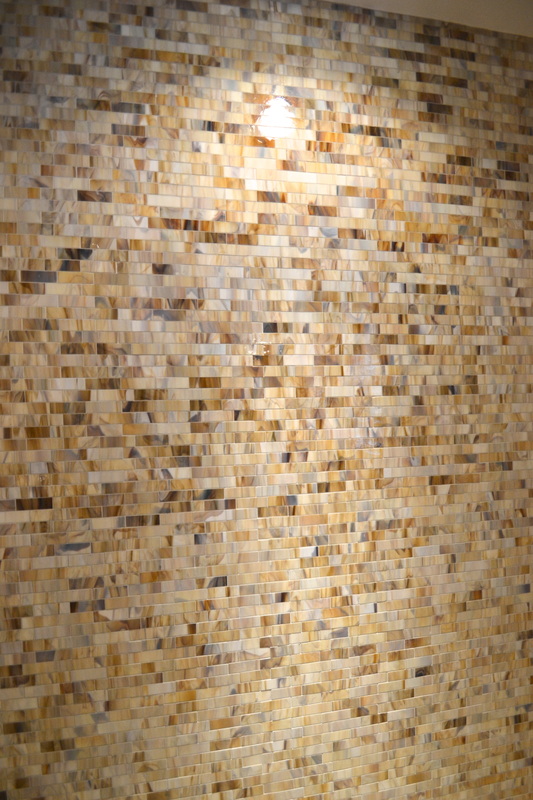
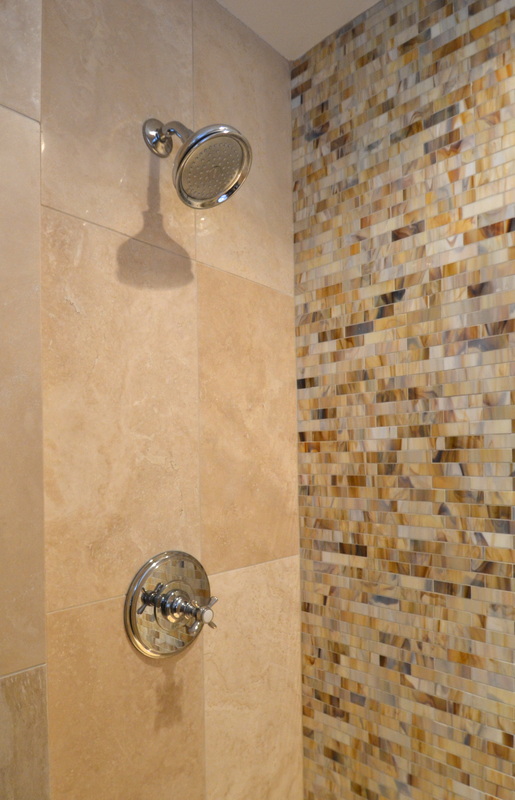
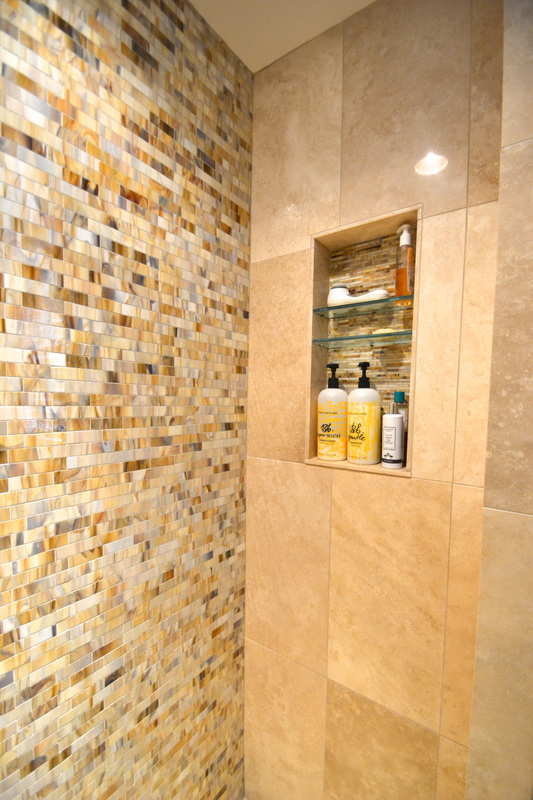
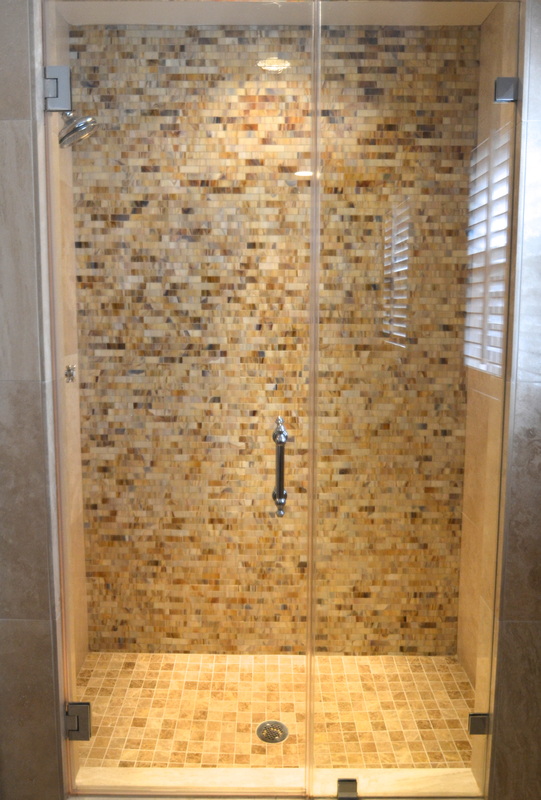
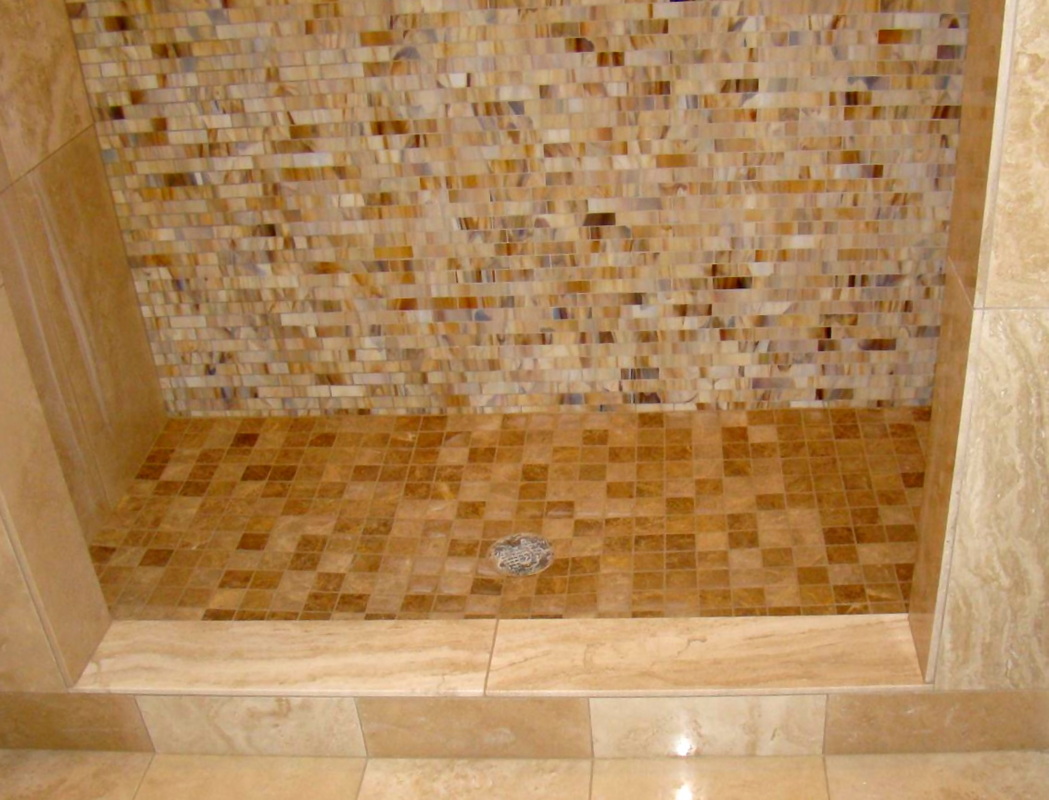
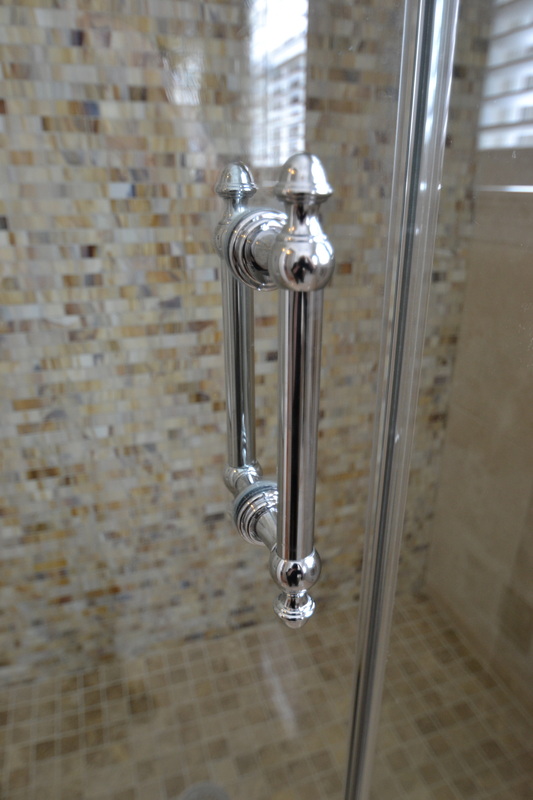
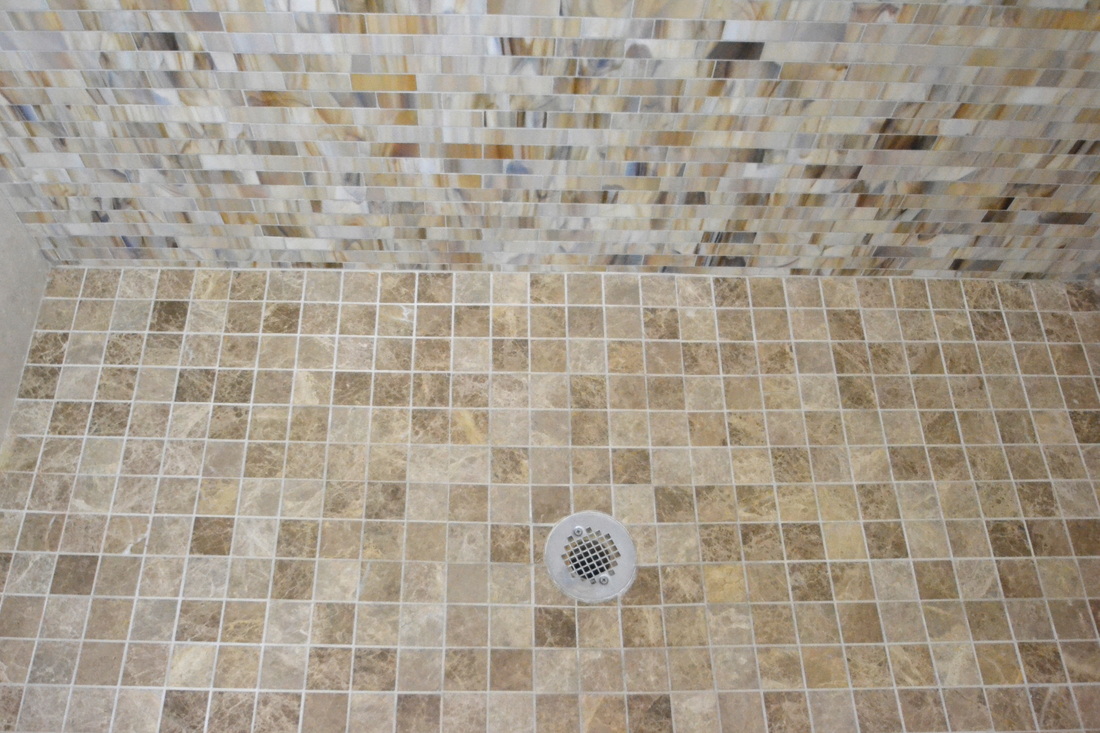
Stunning...right?!
Eryn, thank you so much for being a two-time Reston Remodelista! I can't wait to come back and do projects # 3, 4, 5...32, 33, 34... :-)
Project Summary
Architect: Marilyn Stern {Myers Stern}
Plumbing & HVAC: Cropp Metcalfe
Electric: DACO
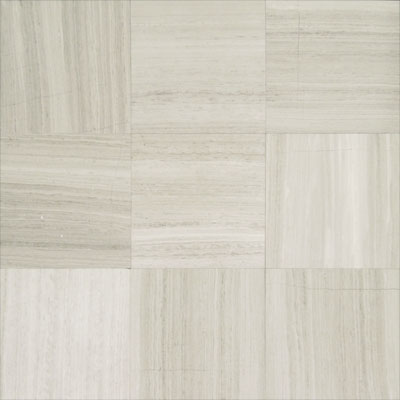
Tile: Mosaic Tile
Tile Installation: Walter Metallo {Metallo Tile and Stone}
Frameless shower doors and glass shelving: Chevy Chase Glass
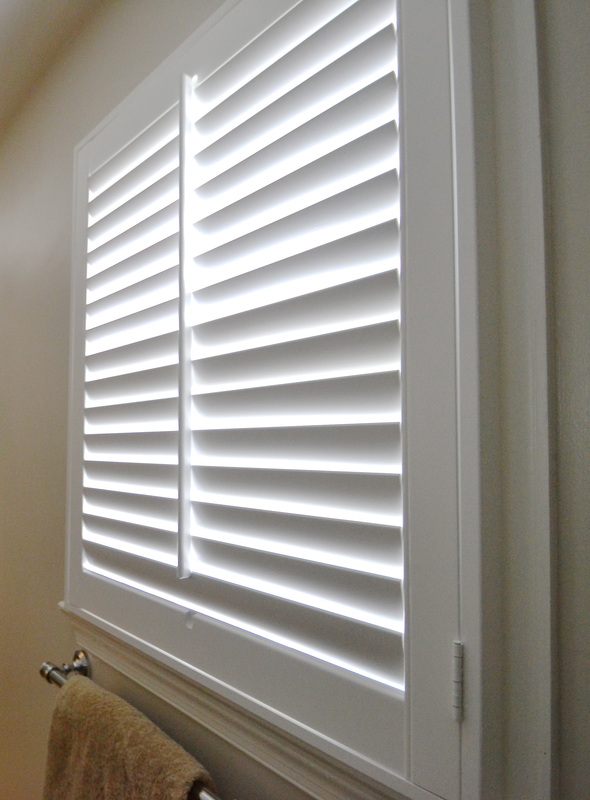
Plantation shutters: Next Day Blinds
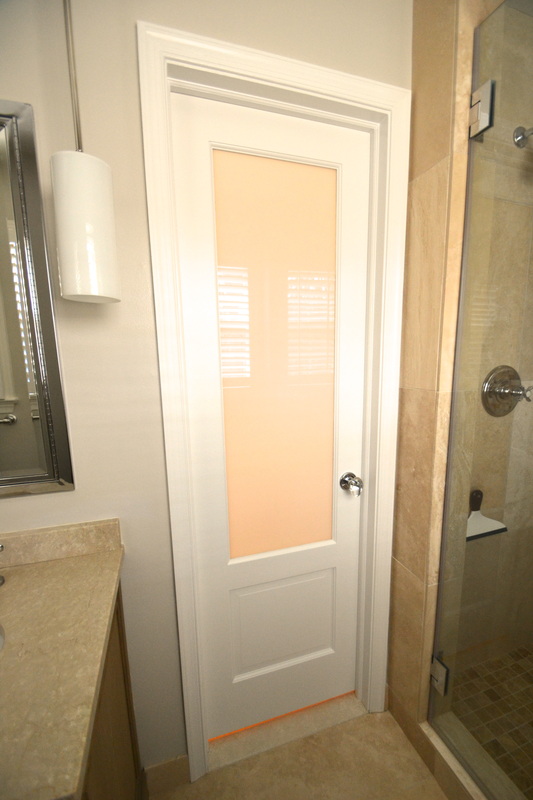
Door: Lansing Building Products
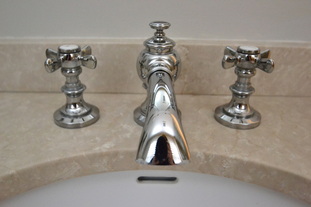
Vanity, sinks, medicine cabinets, and bath hardware: Restoration Hardware
Pendant lights {Murano milk glass}: CX Design, New York
So there you have it! Happy Tuesday, everyone!
Eryn, thank you so much for being a two-time Reston Remodelista! I can't wait to come back and do projects # 3, 4, 5...32, 33, 34... :-)
Project Summary
Architect: Marilyn Stern {Myers Stern}
Plumbing & HVAC: Cropp Metcalfe
Electric: DACO
Tile: Mosaic Tile
Tile Installation: Walter Metallo {Metallo Tile and Stone}
Frameless shower doors and glass shelving: Chevy Chase Glass
Plantation shutters: Next Day Blinds
Door: Lansing Building Products
Vanity, sinks, medicine cabinets, and bath hardware: Restoration Hardware
Pendant lights {Murano milk glass}: CX Design, New York
So there you have it! Happy Tuesday, everyone!

Source: google.com via sixteen fourteen on Pinterest
Thanks Ryan Gosling. That means a lot to me, seriously.
Back to the house stuff. I've been on a major rug kick lately, ever since I realized that I need approximately 100 of them. And you know what? Rugs are crazy expensive, and the pickings on Craigslist and Ebay are woefully slim.
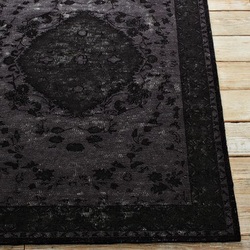
I did buy two from West Elm for the entry hallway, though! I like them. I {hope} KNOW I'll like them more when everything is on the walls and our new front door is painted.
I picked them because the color is dark, which is good for the front hallway. The part I don't totally love is the pattern and the way the "antiquing" is really uneven, even though I know that's the idea:
Back to the house stuff. I've been on a major rug kick lately, ever since I realized that I need approximately 100 of them. And you know what? Rugs are crazy expensive, and the pickings on Craigslist and Ebay are woefully slim.
I did buy two from West Elm for the entry hallway, though! I like them. I {hope} KNOW I'll like them more when everything is on the walls and our new front door is painted.
I picked them because the color is dark, which is good for the front hallway. The part I don't totally love is the pattern and the way the "antiquing" is really uneven, even though I know that's the idea:
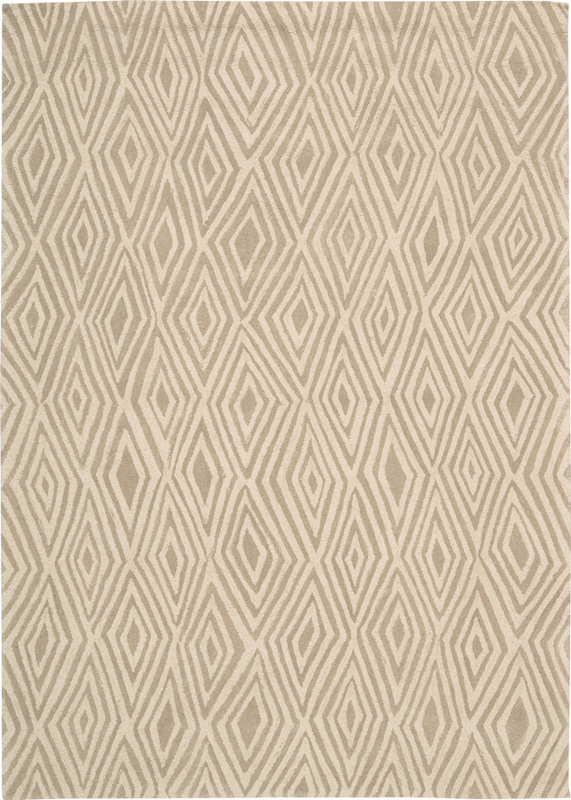
I also got this one {below} from Home Goods for my dining room. It's an 8x10 Calvin Klein wool rug called Marrakech, and it's great quality for the price:
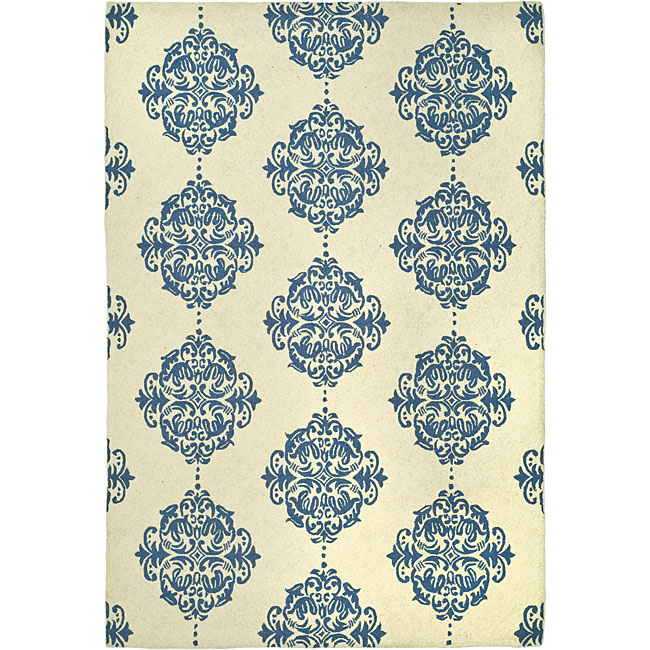
And finally, my third and final rug purchase from Overstock, for the master bedroom. It's currently rolled up in the package in our dining room where it's been for a week or two {that's how we do it around here, folks}. I'm not sure exactly what I was thinking, because it's an ivory hooked wool rug with a bold, cobalt blue pattern. Huh? Right? I thought I'd decided on a neutral, flatweave pattern to complement the very masculine furniture and linens, so this could be a bad decision indeed:
And there you have it Ryan Gosling, my riveting recent rug purchase story.
Thanks for reading. :-)
Thanks for reading. :-)

First, I want to apologize for the radio silence and semi-unintentional blog slacking. I've had some SERIOUS problems with spam, which has impacted my ability to accept comments and has caused me to evaluate what I'm doing with this here little blog. I took that excuse and ran with it because really, I think I needed a break.
I haven't written, I haven't even read a blog post in what seems like forever.
In fact, it's probably been like three days. ;-)
I think the spam issues are resolved, so I'm free to move forward.
I can if I want to...BUT {you knew that was coming}.
My original goal was to blog for a year to document our renovation and figure out what this blog thing is all about, and then decide whether to continue. At the 9-month mark, I've already been asking myself questions like:
A. Do I want to switch to another blog hosting site, like WordPress or Blogger,
and really DO this thing for real?
B. Do I want to stick with Weebly and just continue business as usual?
C. Do I want to stop altogether?
I think for now, I'm going to stick with B, but A and C are looming large. Especially C, to be honest, because let's face it: Blogging is fun, but it's also work. And some days, my real work and my job as a mom are almost more than enough. I read so many blogs which, combined with Pinterest and Houzz, is almost too much if you're an "analysis paralysis" type...
which I am. I'm highly decisive unless I'm presented with an overwhelming number of choices. My house stays unfinished while I contemplate Rub-n-Buff and Mod Podge.
Unproductive, to say the least.
So if you're still here, THANK YOU for sticking with me.
Should we move on to a little project? Here goes!
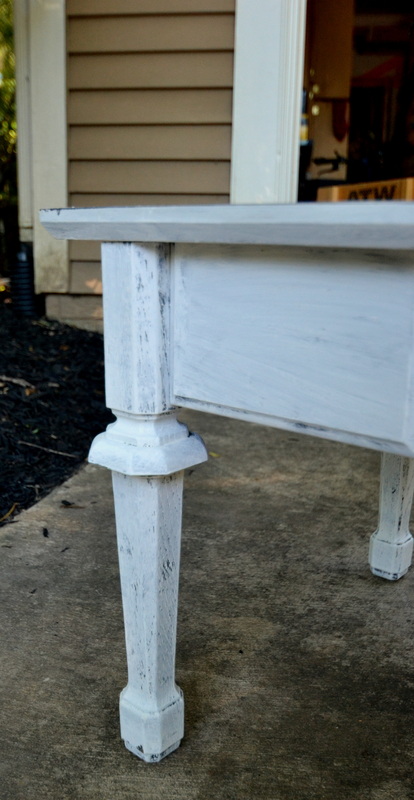
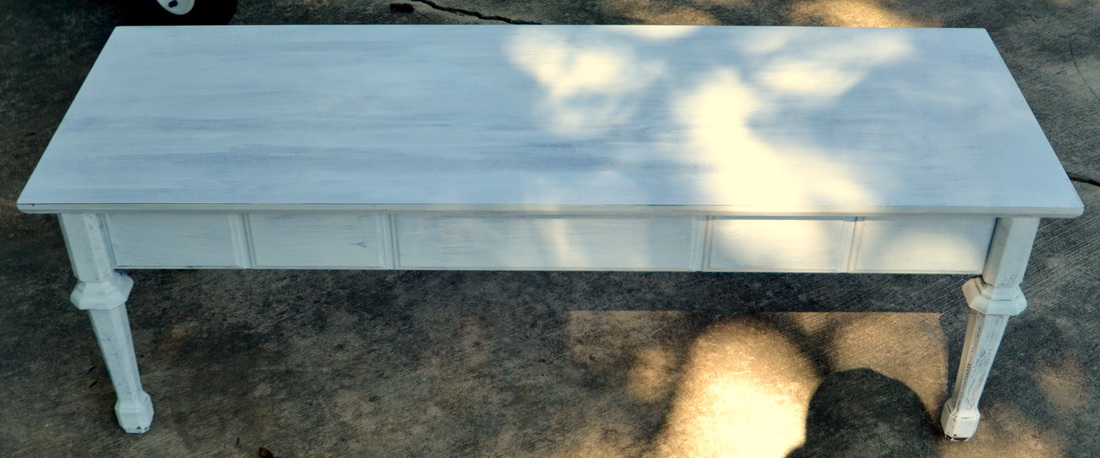
I bought this table at a thrift shop for $15...it's a wood veneer with a "decorative" {also known as "fake"} drawer front. I painted it with Annie Sloan Chalk Paint in Pure White, distressed it, and then buffed it with clear wax. I also used Rub-n-Buff to change the hardware from rusty brass to "antiqued" nickel:
I haven't written, I haven't even read a blog post in what seems like forever.
In fact, it's probably been like three days. ;-)
I think the spam issues are resolved, so I'm free to move forward.
I can if I want to...BUT {you knew that was coming}.
My original goal was to blog for a year to document our renovation and figure out what this blog thing is all about, and then decide whether to continue. At the 9-month mark, I've already been asking myself questions like:
A. Do I want to switch to another blog hosting site, like WordPress or Blogger,
and really DO this thing for real?
B. Do I want to stick with Weebly and just continue business as usual?
C. Do I want to stop altogether?
I think for now, I'm going to stick with B, but A and C are looming large. Especially C, to be honest, because let's face it: Blogging is fun, but it's also work. And some days, my real work and my job as a mom are almost more than enough. I read so many blogs which, combined with Pinterest and Houzz, is almost too much if you're an "analysis paralysis" type...
which I am. I'm highly decisive unless I'm presented with an overwhelming number of choices. My house stays unfinished while I contemplate Rub-n-Buff and Mod Podge.
Unproductive, to say the least.
So if you're still here, THANK YOU for sticking with me.
Should we move on to a little project? Here goes!
I bought this table at a thrift shop for $15...it's a wood veneer with a "decorative" {also known as "fake"} drawer front. I painted it with Annie Sloan Chalk Paint in Pure White, distressed it, and then buffed it with clear wax. I also used Rub-n-Buff to change the hardware from rusty brass to "antiqued" nickel:
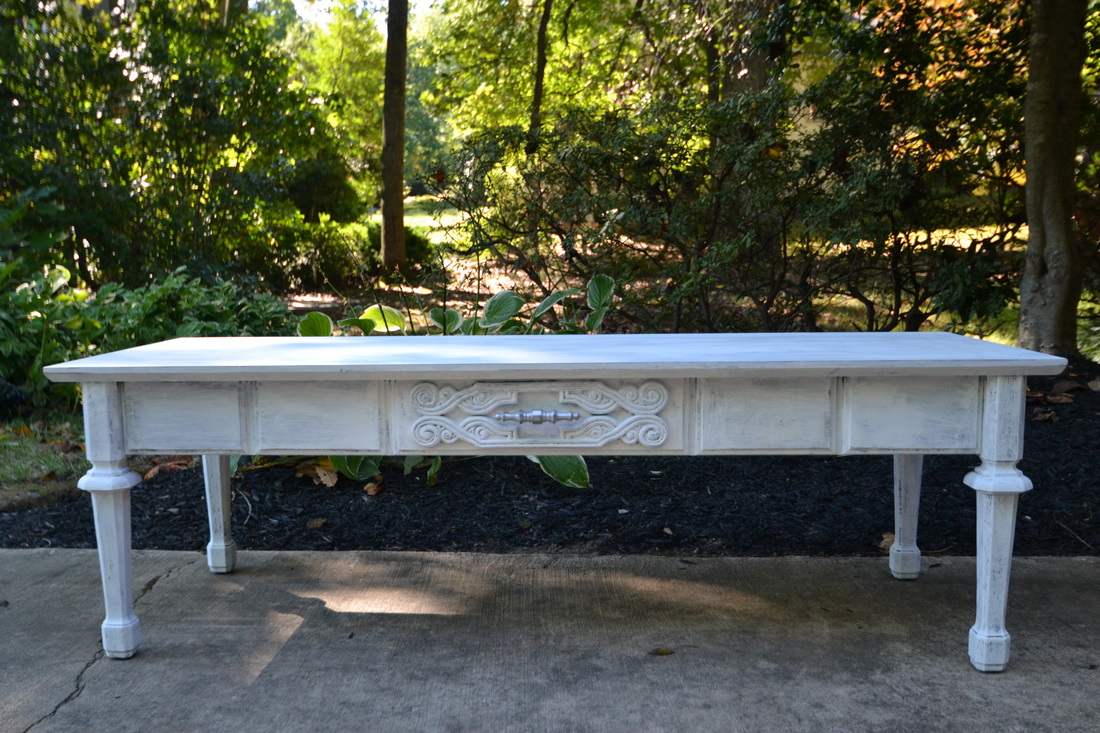
I ended up selling it on Craigslist because it doesn't quite fit in with my house, but it was a great learning experience. I tried a new chalk paint color, used Rub-n-Buff {miraculous but MESSY!} and attempted distressing for the first time. Normally I don't love this look, but I'm really glad I learned something. Yes, I'm a total nerd.
As if you didn't know that already.
Happy Friday!
As if you didn't know that already.
Happy Friday!

Ooooooooh, I've been BUSY in a sudden, mad dash to finish {did I say finish? I meant start} every little fantasy project on my mental to-do list.
I've Rub-n-Buffed {FAIL}, painted three tables, and I have some Mod Podge in my cabinet which is totally calling my name: "Tryyyy meeeee, Aimee!"
I seriously think I need to examine my caffeine intake, actually.
Anyway.
I've Rub-n-Buffed {FAIL}, painted three tables, and I have some Mod Podge in my cabinet which is totally calling my name: "Tryyyy meeeee, Aimee!"
I seriously think I need to examine my caffeine intake, actually.
Anyway.
You remember this sexy beast, right?

This was just not a good look. It's hard to tell from the photo, but the top was a mess, showing every scratch and ding. The coverage on the legs was also terrible:
| So I painted her with Krylon glossy black spray paint, and trust me...she looks a lot better. Unfortunately, I can't find the perfect spot in my house for her, so she's currently up for adoption on Craigslist: 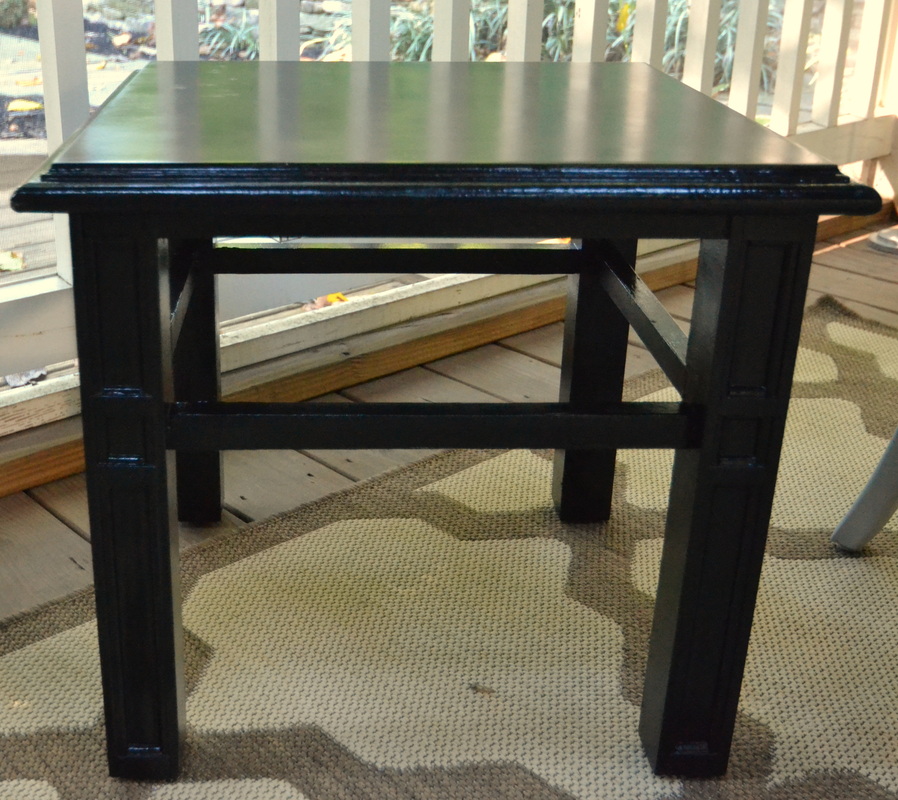 | 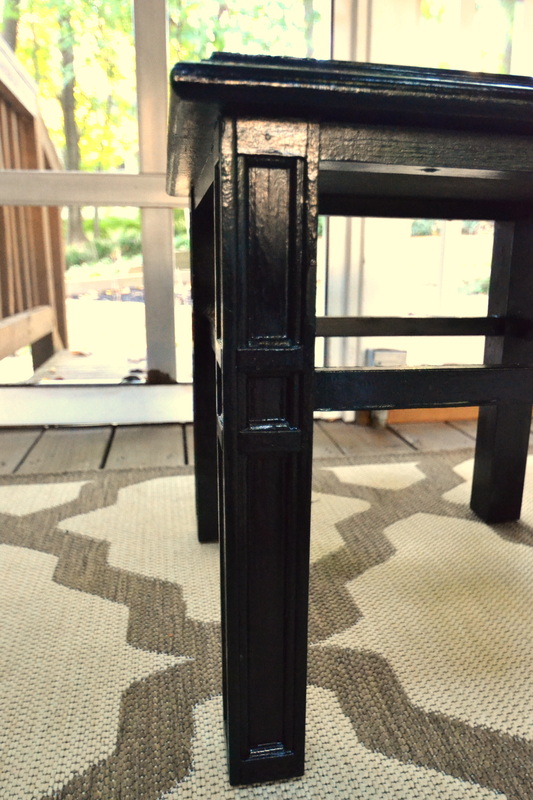 |
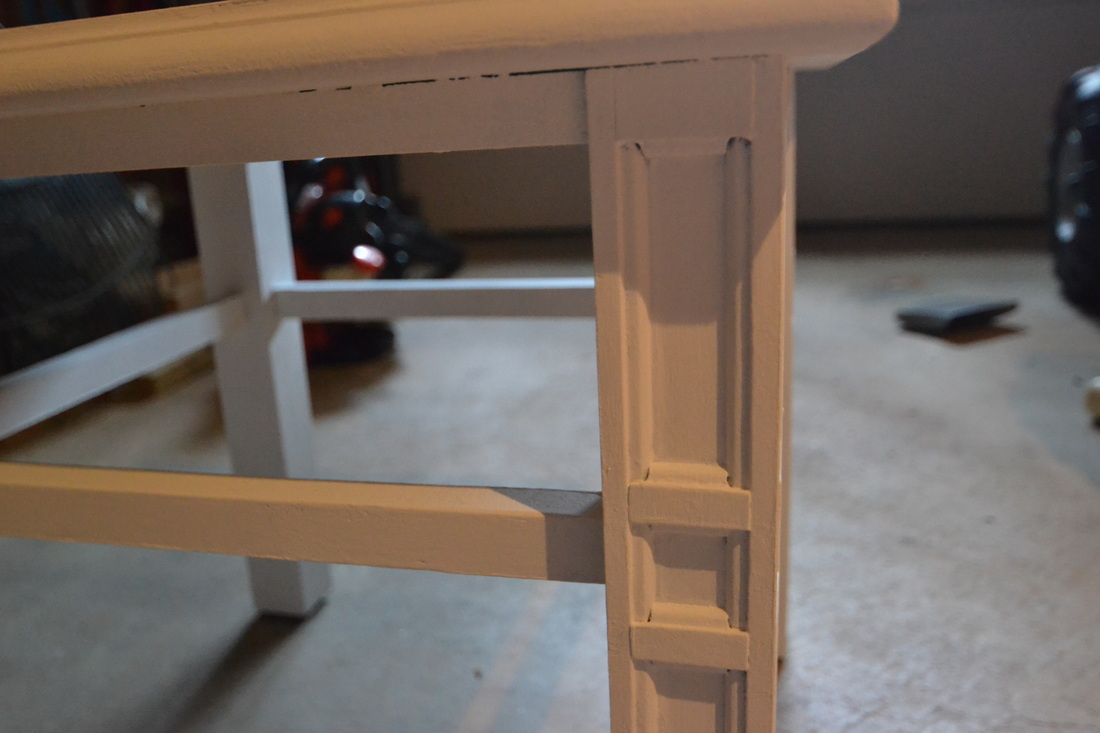
My second victim was this stool I bought at the thrift store for $2.99. Originally, I painted it ASCP Paris Gray, but I didn't apply the Clear Soft Wax. In case you're wondering, the wax is critical for protecting the finish. I use it as a little drink table next to the sofa, and the moisture from the glass completely ruined it. I could have just painted over it and waxed it, but gray just didn't look great in my warmer-toned family room.
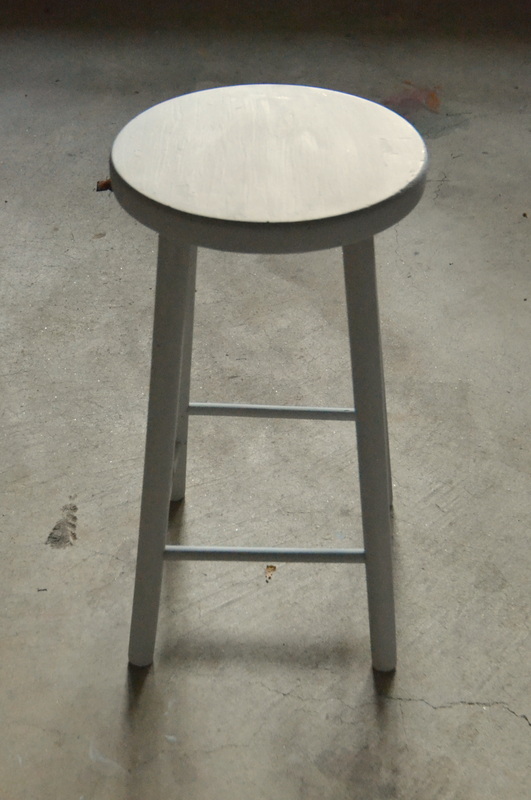
I used the rest of the Krylon spray paint in black {gloss} to make over this stool again,
but now I am in love. By the way, that little terracotta planter was part of
The Great Rub-n-Buff Mess of 2012:
but now I am in love. By the way, that little terracotta planter was part of
The Great Rub-n-Buff Mess of 2012:

Happy Thursday!

Hey all!
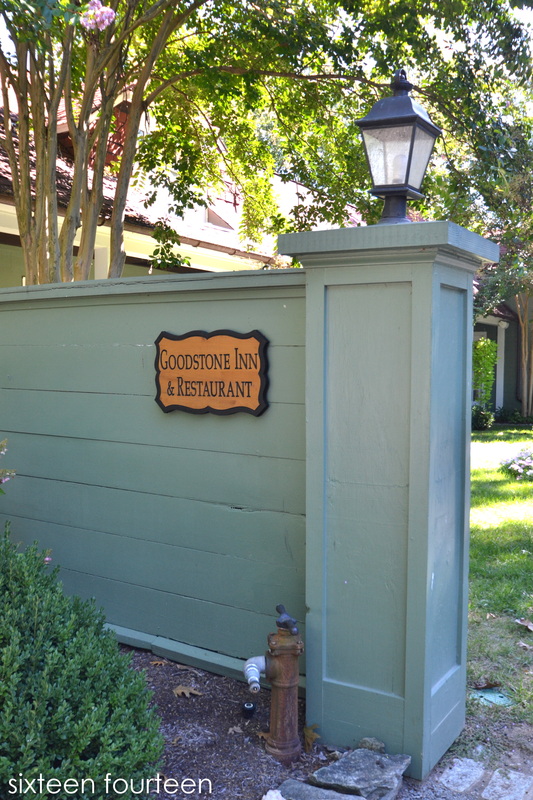
Brian and I celebrated our 10th wedding anniversary on Friday by taking a quick overnight trip to The Goodstone Inn & Estate in gorgeous Middleburg, Virginia
{about 45 minutes from our house in Reston}.
We first visited this spot when we were looking at wedding reception locations,
and I've been dying to go back ever since.
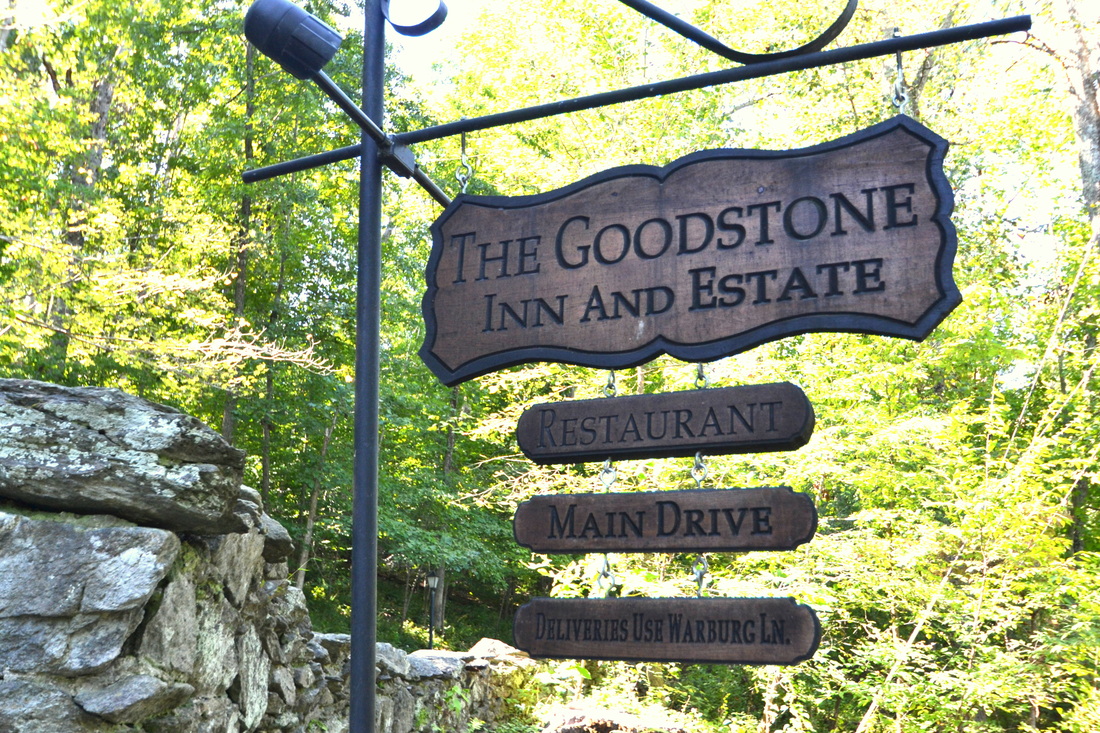
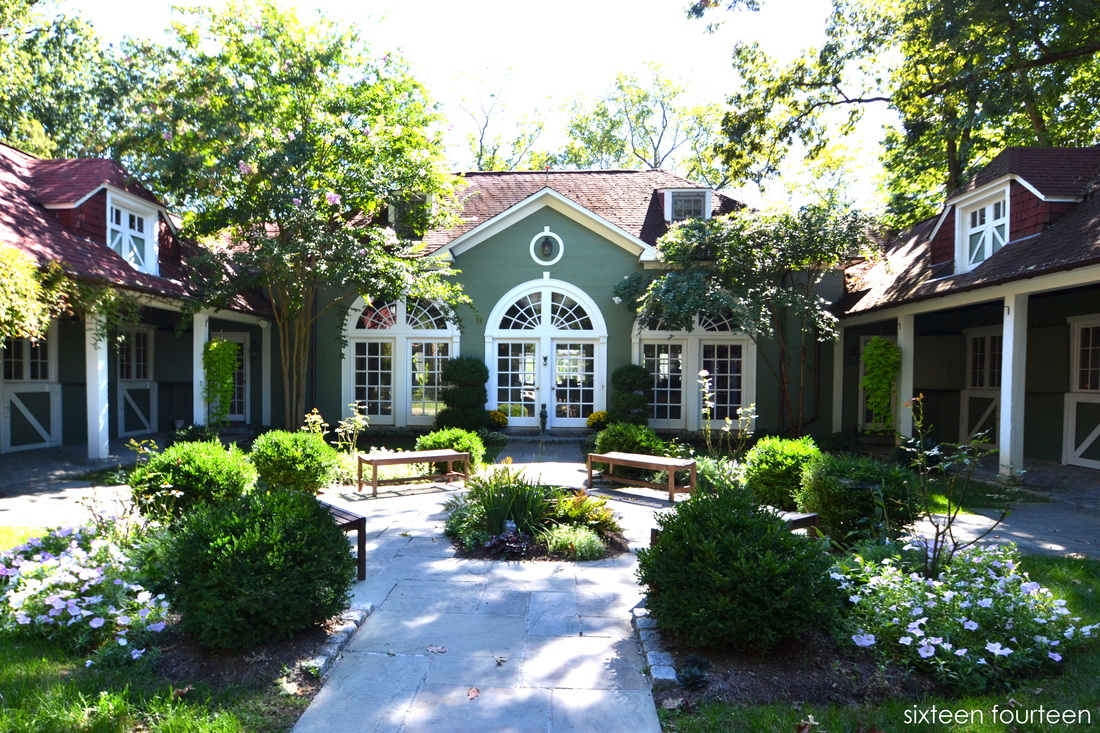
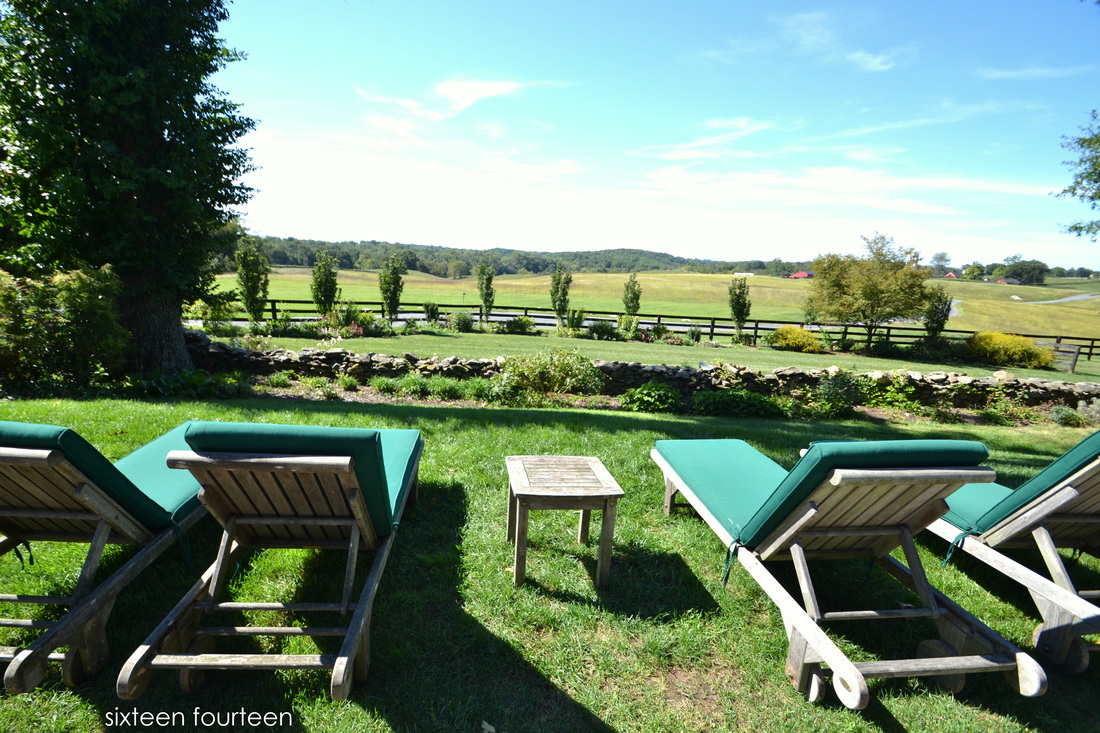
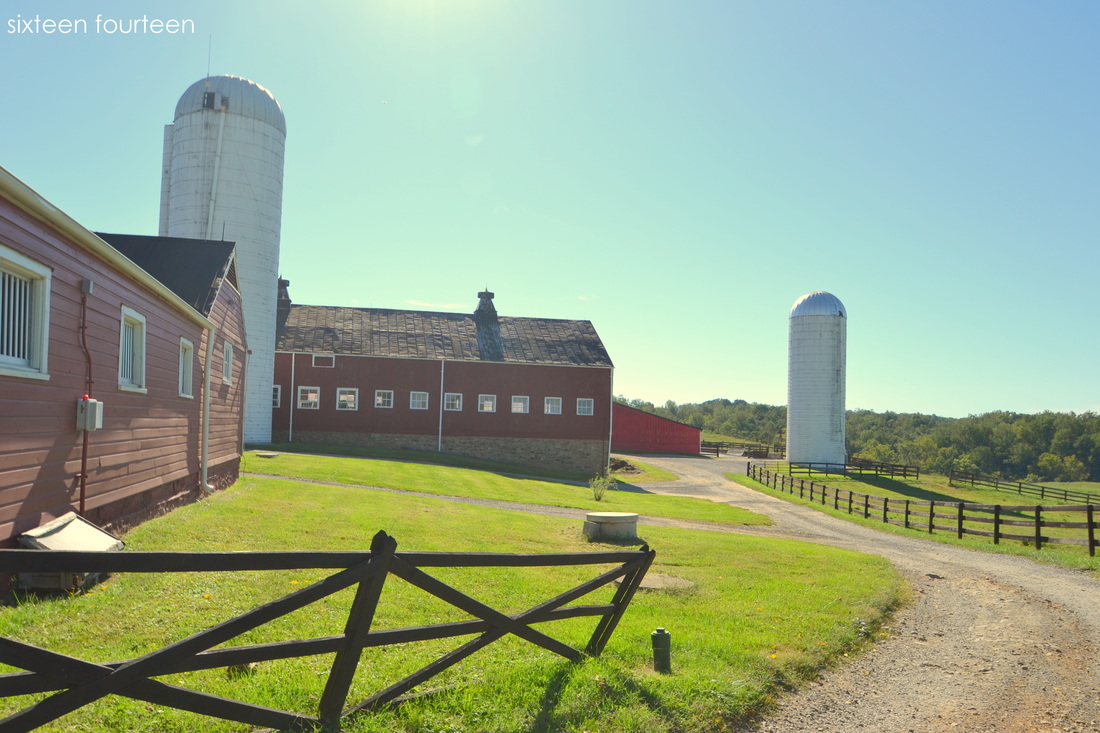
After driving up a steep, windy road, we arrived at the inn. The Carriage House is to the left and right, where horse stables were converted into cozy guest rooms. Straight ahead is the inn, with a living room, dining room, and bar:
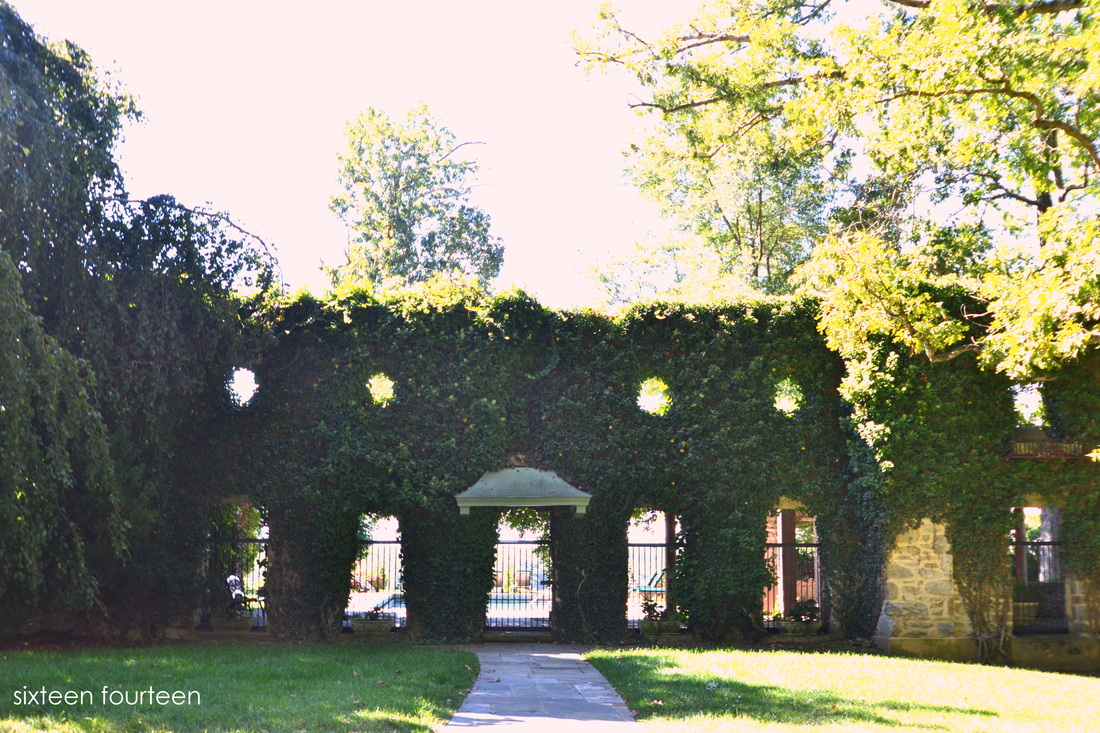
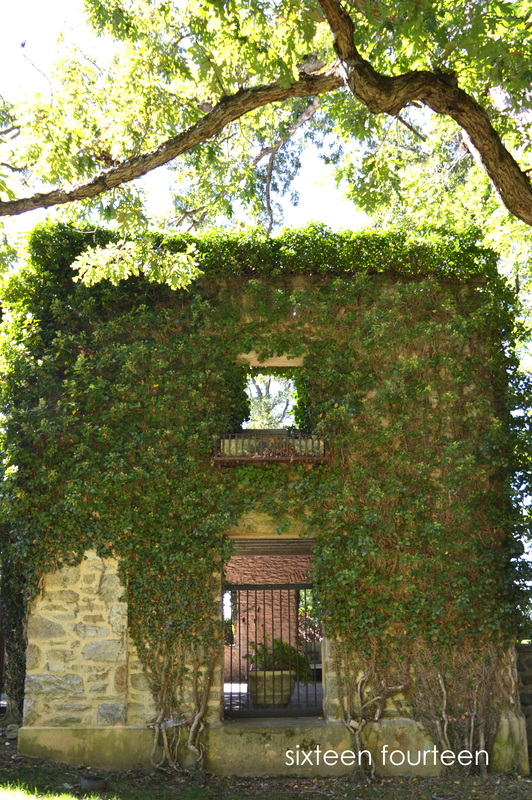
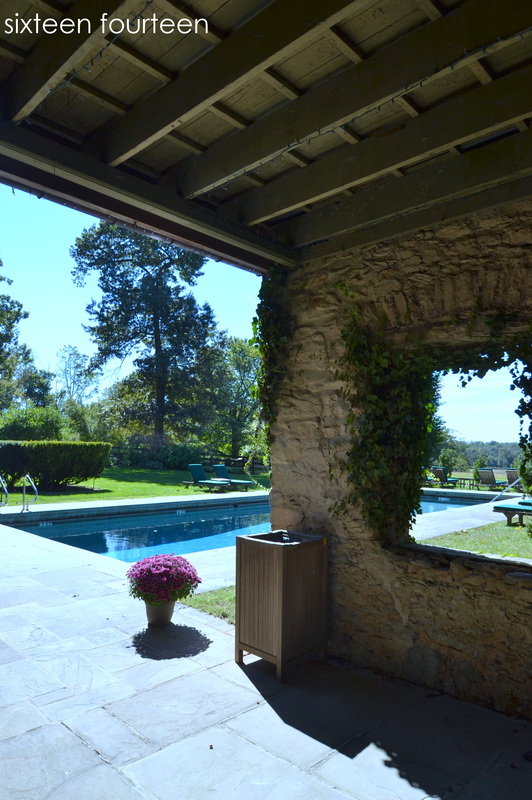
Next to the main inn is the pool...and it is STUNNING.
The facade is actually from the original manor house, which burned down:
The facade is actually from the original manor house, which burned down:


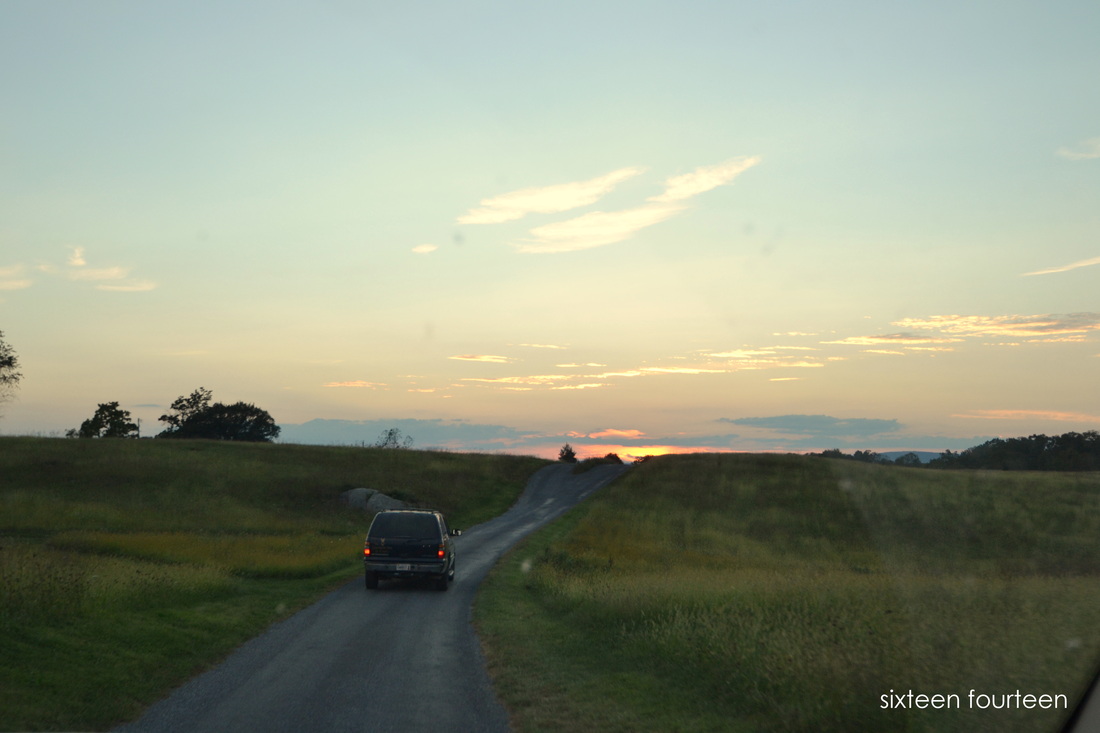
Our suite was located in a building about a mile away from the inn, so after we checked in {at sunset} we followed a driver in a Suburban who led us to our destination:
There are about six guest houses/cottages on the estate. We stayed in the Manor House:
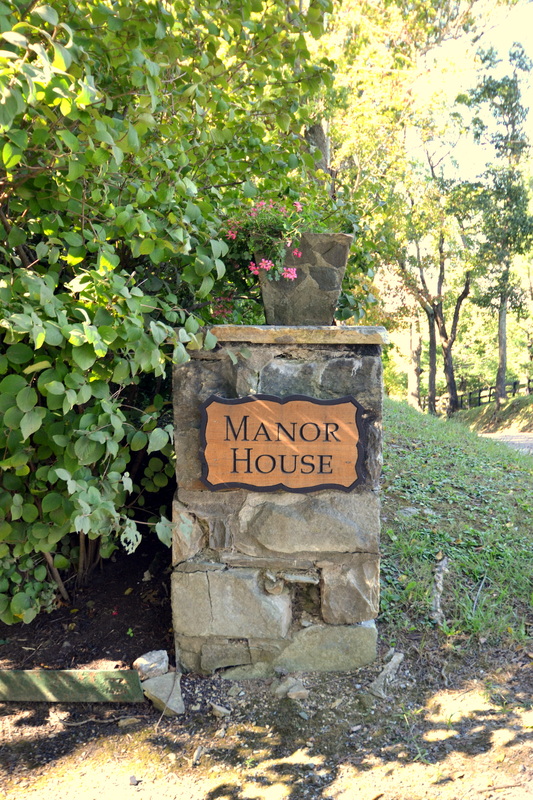
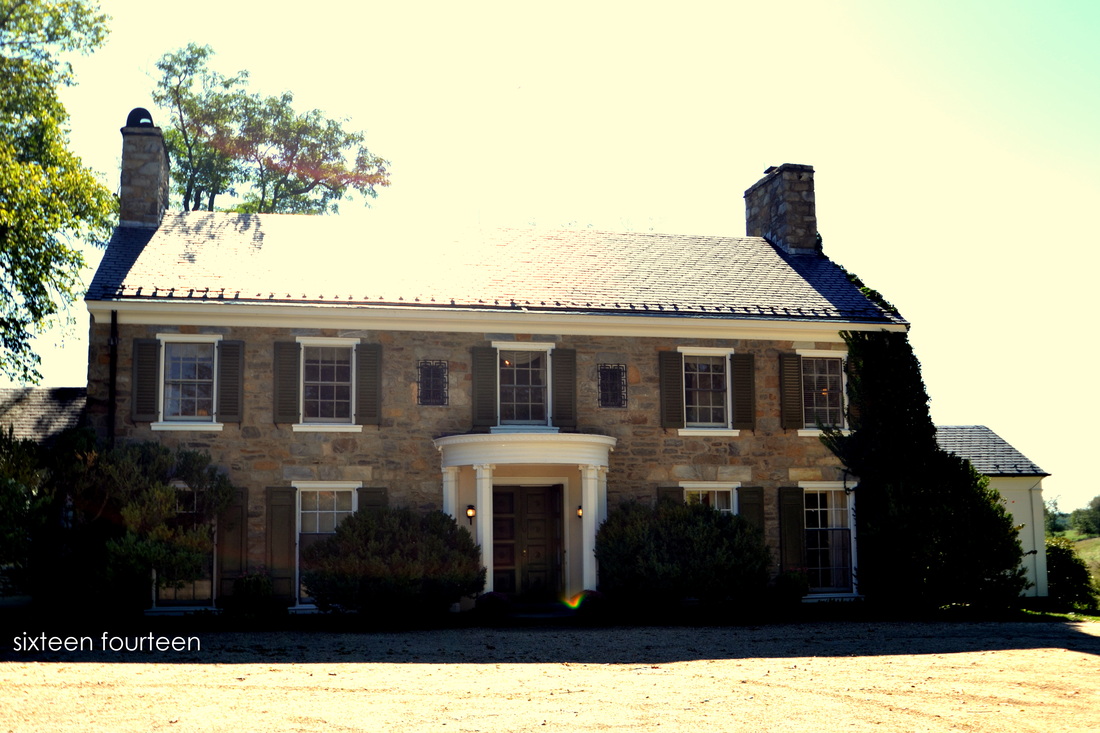
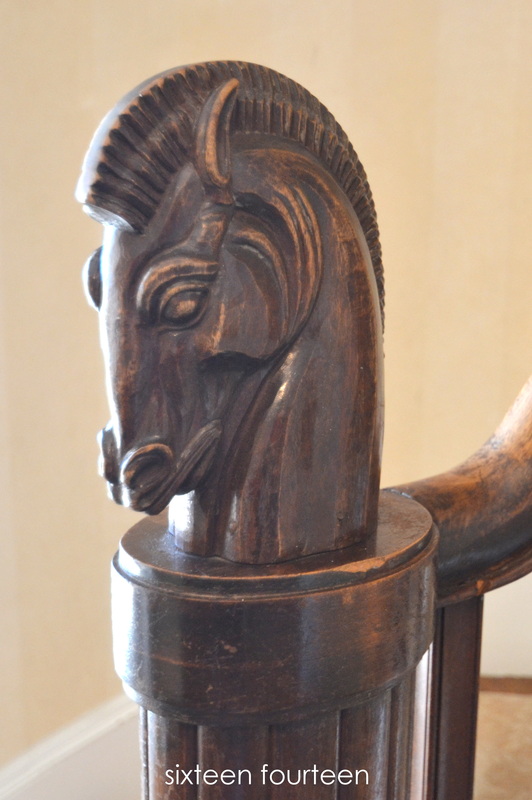
As you walk through the front door, you're greeted by this:
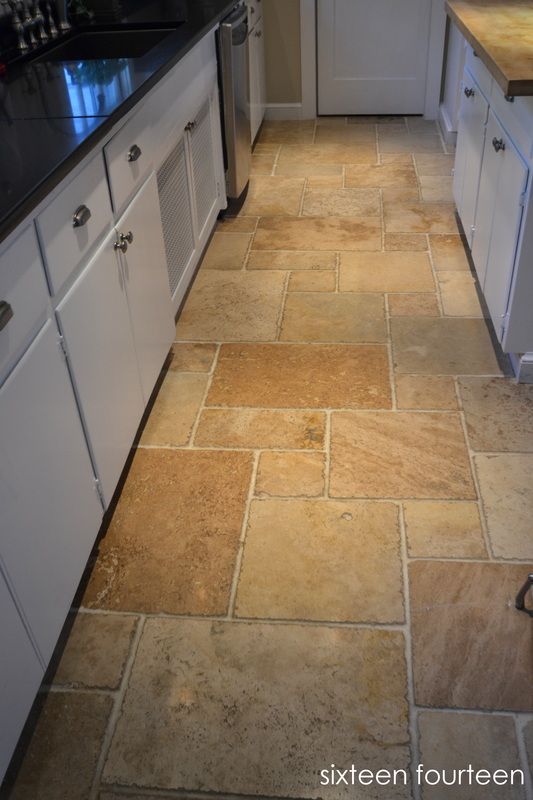
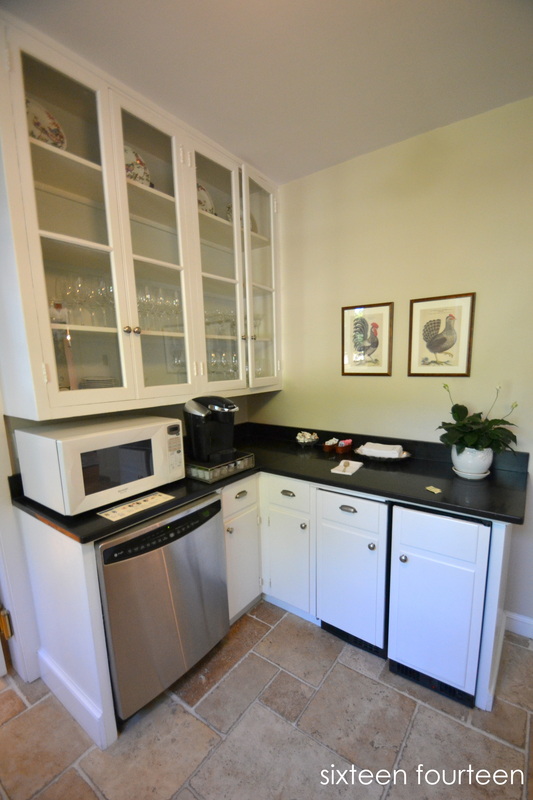
There's a full kitchen, with a pantry...I didn't get a good photo of the kitchen,
but look at those floors!!!
but look at those floors!!!
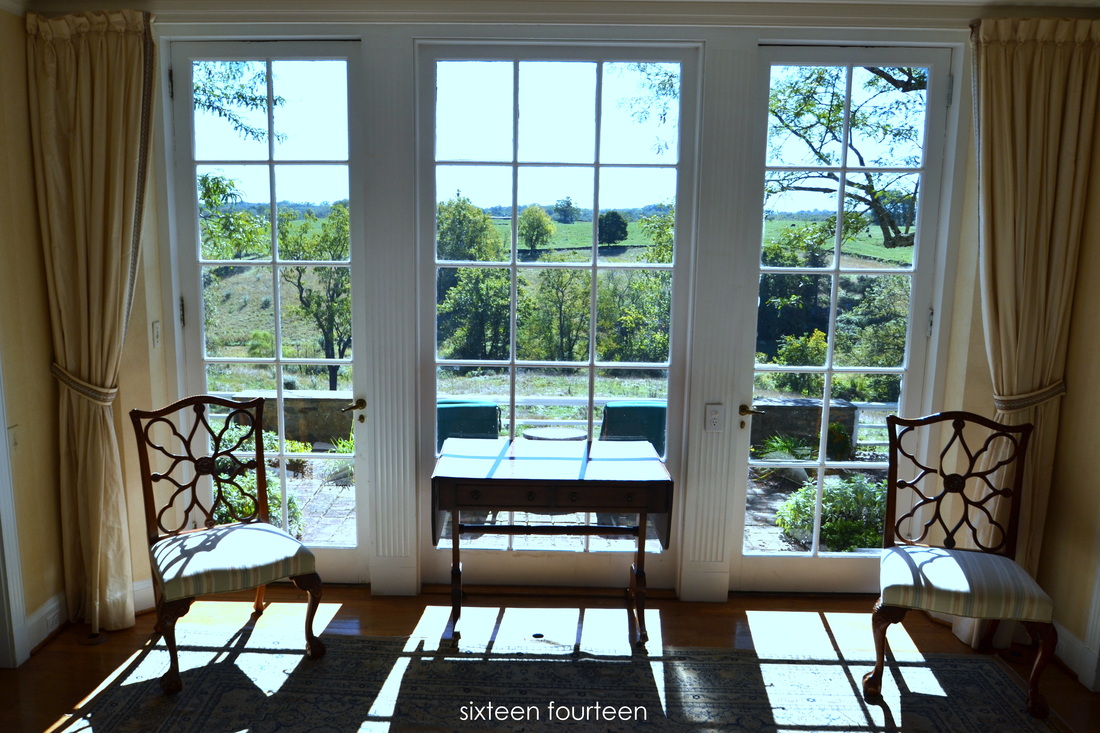
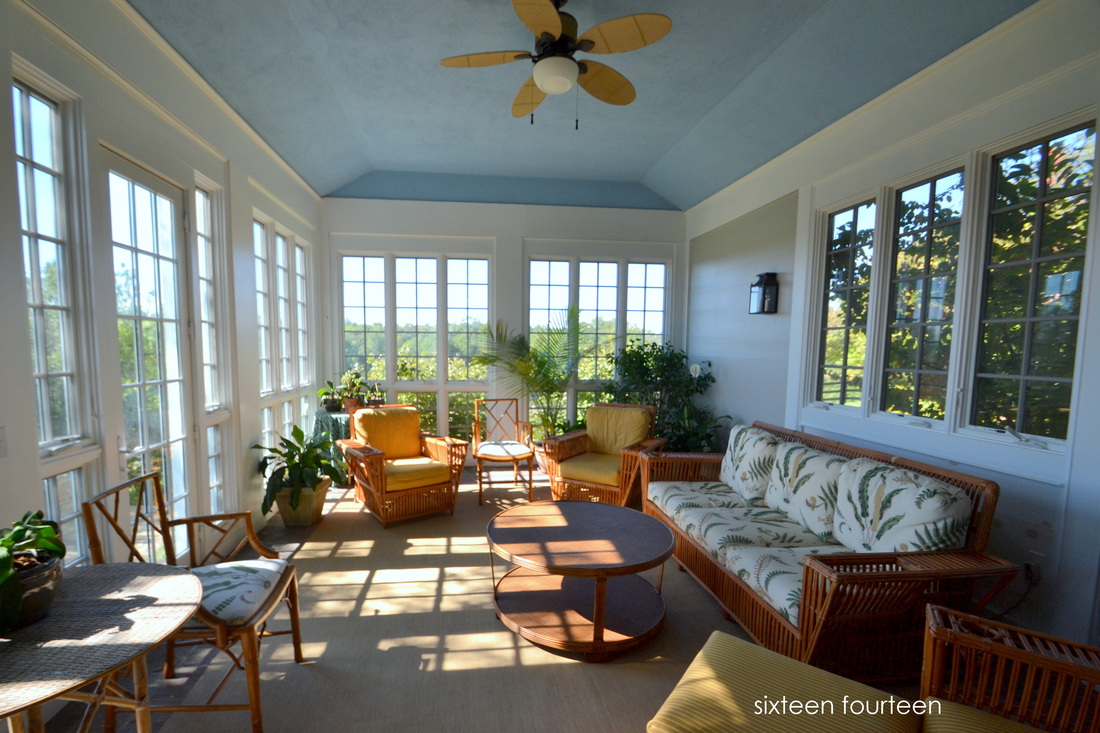
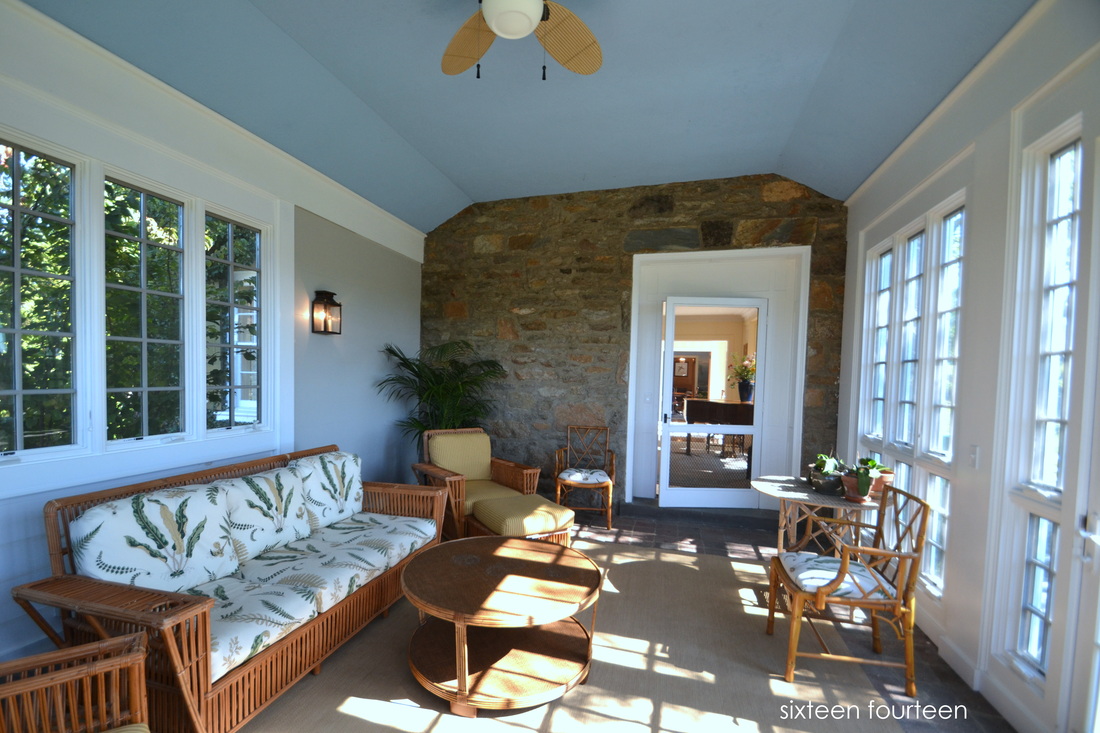
 |  |
Absolutely LOVED the sunroom, especially all the windows and the blue painted ceiling!
 |  |
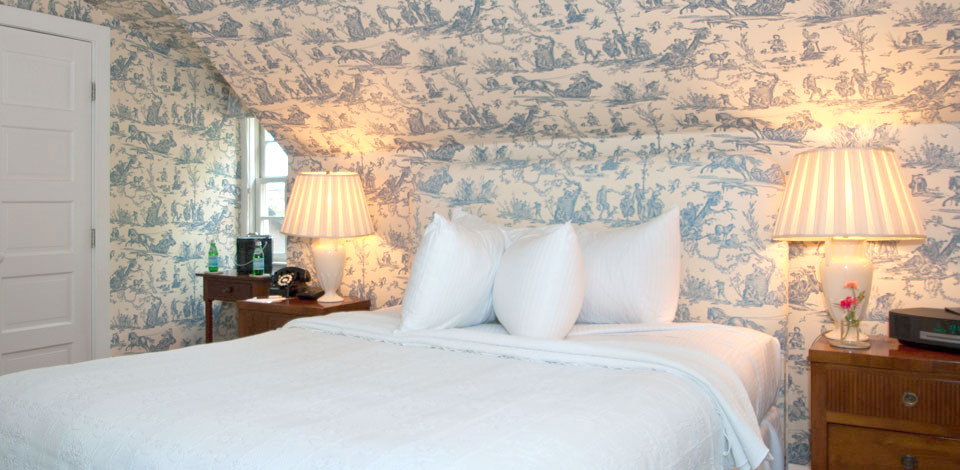
Below is the Stuart Suite, where we stayed. This is a photo from Goodstone's website, because I forgot to take a picture before we scattered our stuff everywhere. Did I mention that we ended up with the house to ourselves? I really wish we would have had more time to light a fire, read, and just hang out. Maybe when the kids are in college in 13 years. ;-)
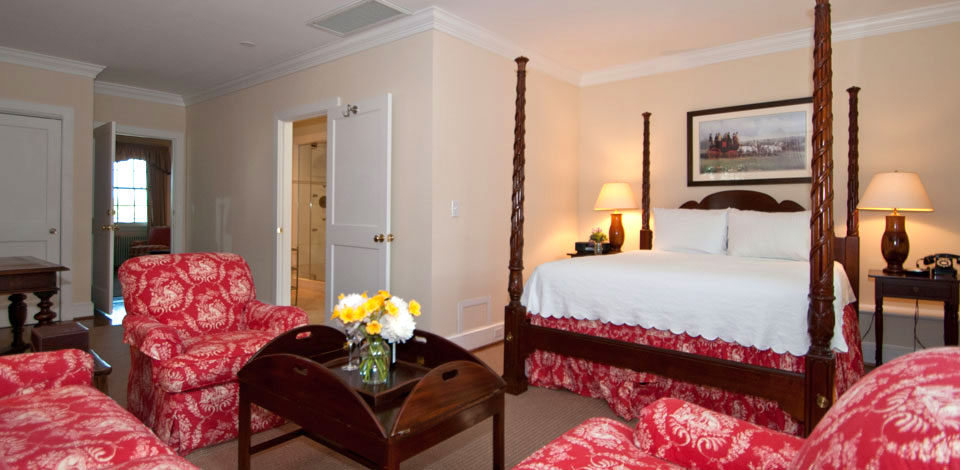
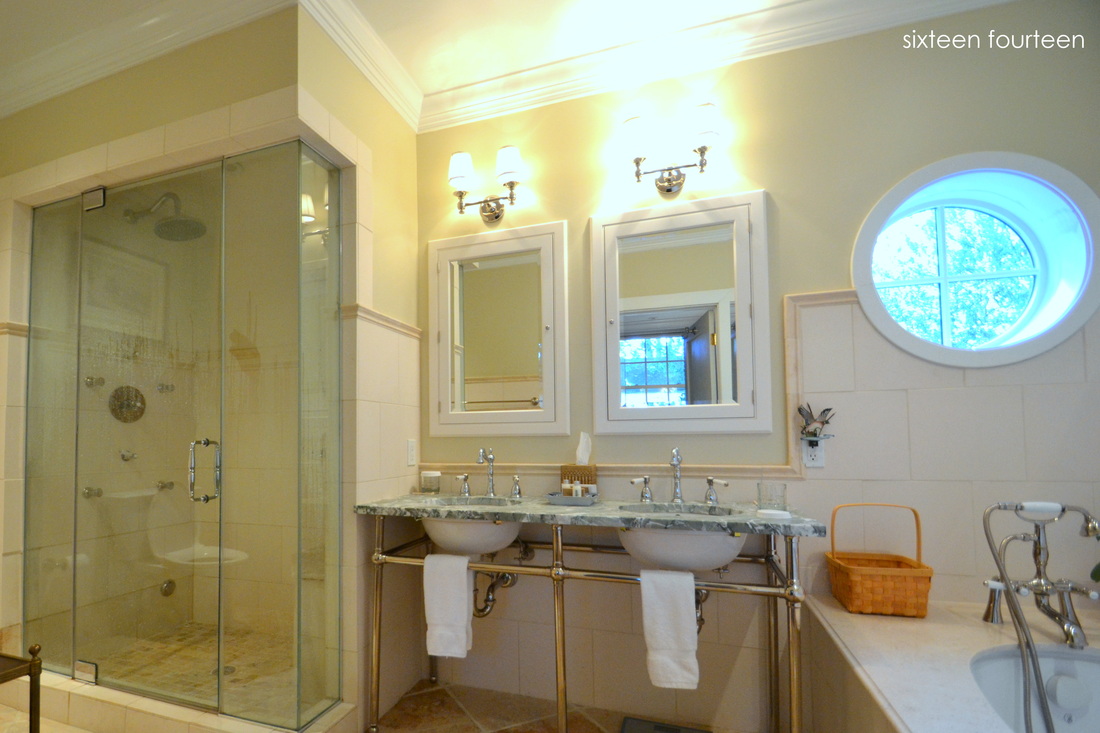
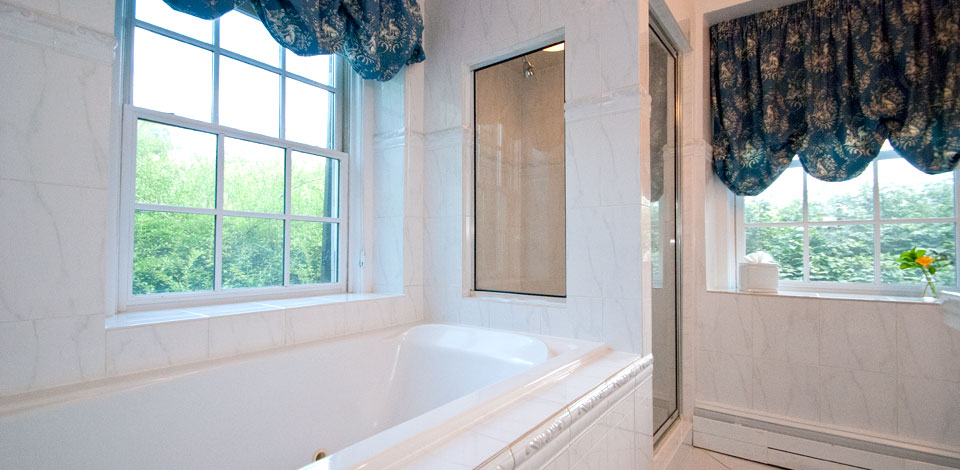
The bathroom gave us ideas for our own master bath renovation, especially the steam shower {although we couldn't get it to work, waaah}!
Seriously, I was so bummed about that. "First world problems," right? ;-)
Seriously, I was so bummed about that. "First world problems," right? ;-)
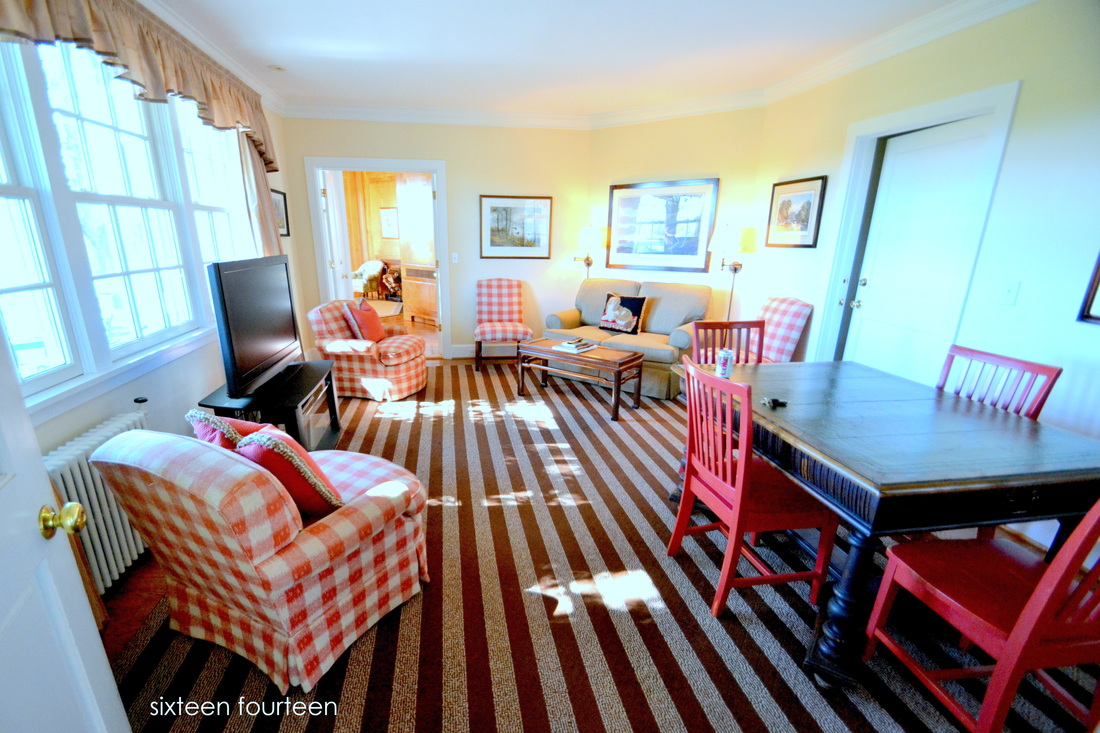
Here's the sitting room in the suite. I wonder if I was the only guest who has gone through the house pulling up the corners of rugs to try to see where they got them? Ha!
Below is the barn that houses the spa...but as far as I could tell, it was only two rooms for massages and facials without any other amenities.
So pretty though {and we loved our massages}:
So pretty though {and we loved our massages}:
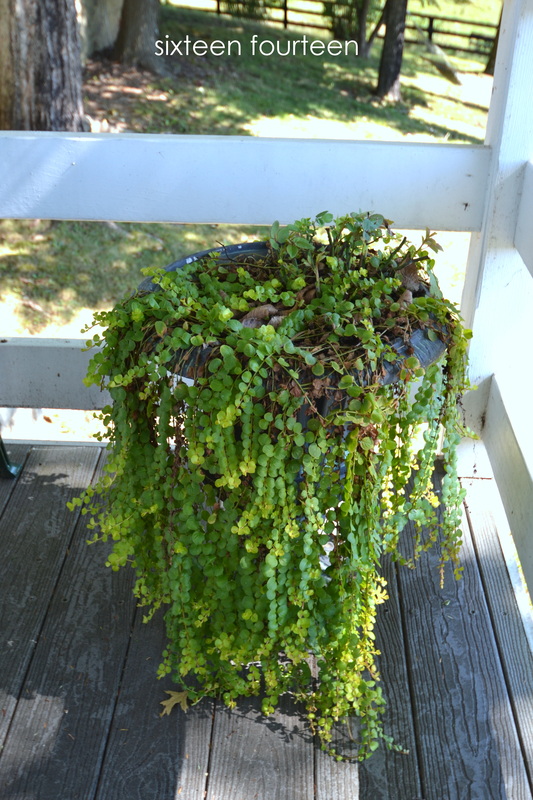
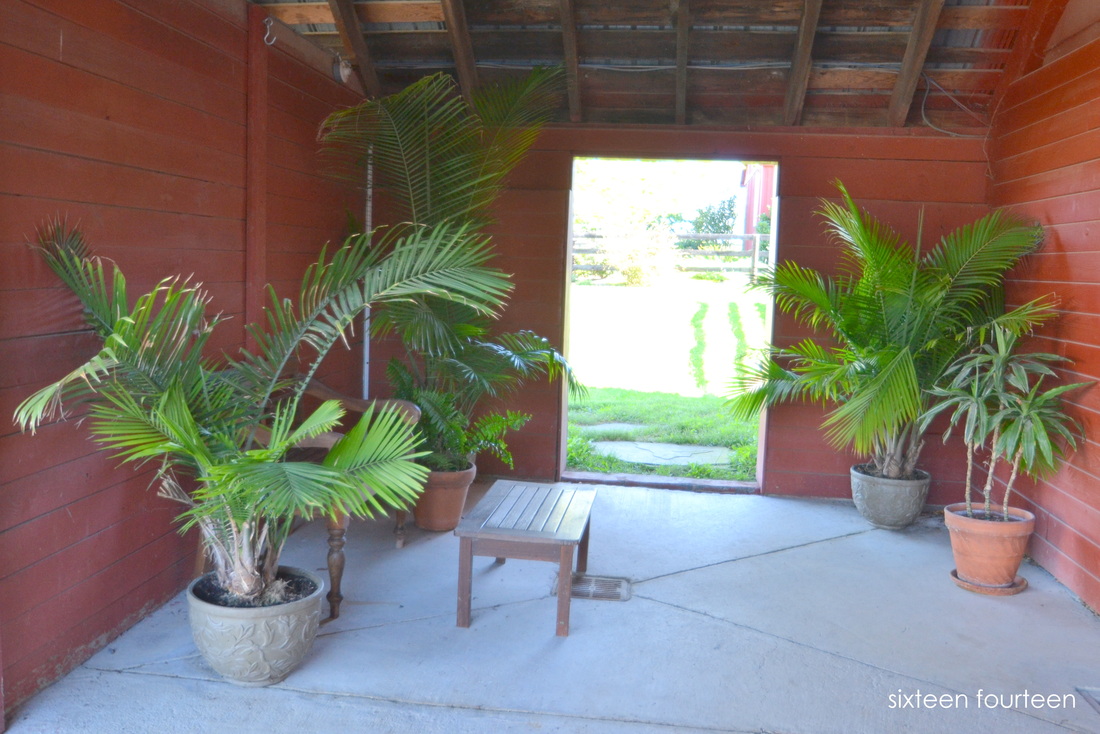
This is the spa waiting area...loving those tropical plants!
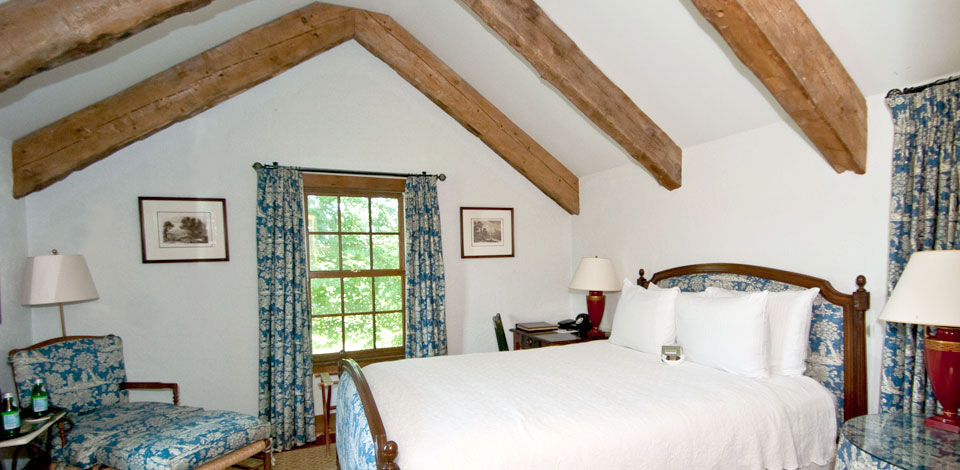
Below are some of the beautiful rooms from around the estate. The exposed wood, natural floor mats, and stunning fabrics are my favorite parts {all photos from the website}:
So that's it! We loved every minute and can't wait to go back!
Have a happy Thursday... :-)
Have a happy Thursday... :-)

Sorry for the lack of posts...we've been deep in the throes of "back to school"...getting adjusted to new routines, new teachers, and in Blake's case, a new school.
Yes, my baby started kindergarten.
Yay! And boooo.
Yay, because he is so ready, and so far he's loving it. Boooo, because he's been in the preschool in my office building since he was a baby, so I'll really miss my sweet little commuting partner.
But did I mention that he was READY? Ha.
Yes, my baby started kindergarten.
Yay! And boooo.
Yay, because he is so ready, and so far he's loving it. Boooo, because he's been in the preschool in my office building since he was a baby, so I'll really miss my sweet little commuting partner.
But did I mention that he was READY? Ha.

Brian and I also celebrated our 10th wedding anniversary this week.
It's definitely making me nostalgic...
It's definitely making me nostalgic...


Sorry for the hiatus and the quick departure from home design and DIY. Thanks for indulging me, and I can't WAIT to show you the place we stayed for our anniversary...you will DIE. ;-)

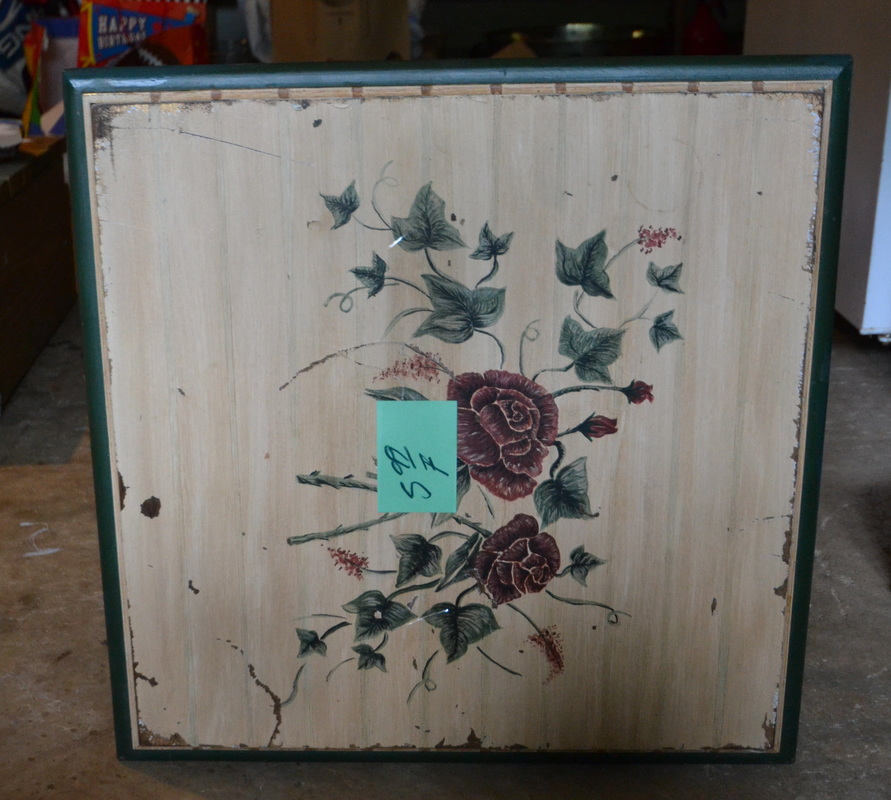
Yes...I took out my wallet and paid money for this.
Brian cracked me up because when he saw it in the trunk of my car he asked sadly,
"So is this what we're doing now?" Ha!
Brian cracked me up because when he saw it in the trunk of my car he asked sadly,
"So is this what we're doing now?" Ha!
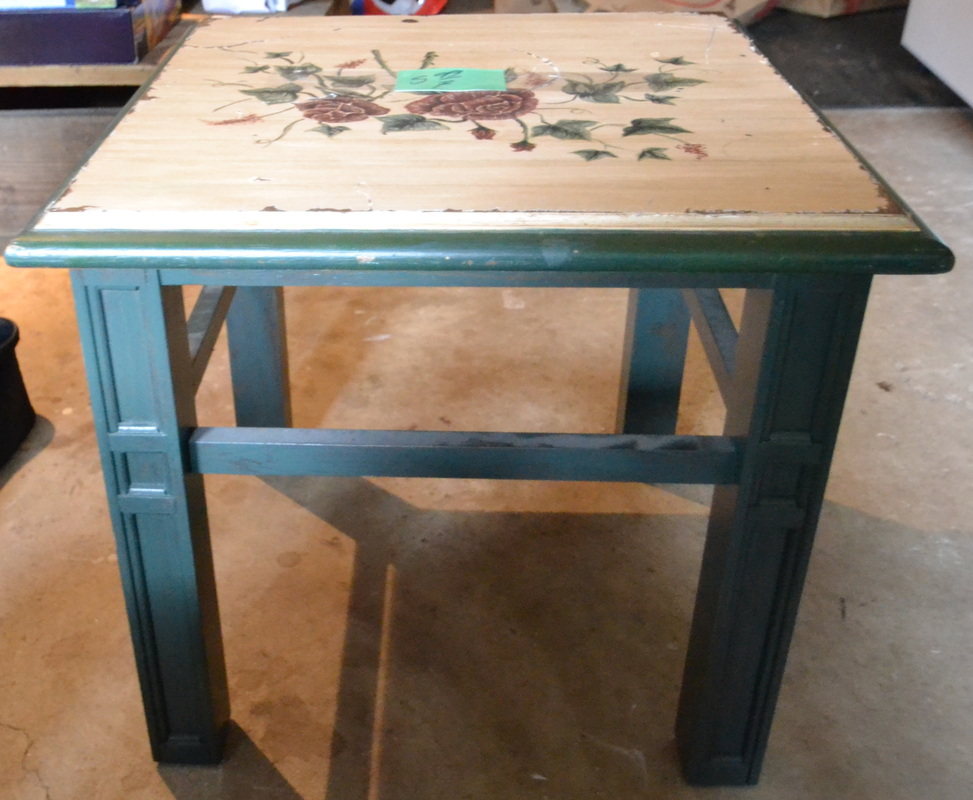
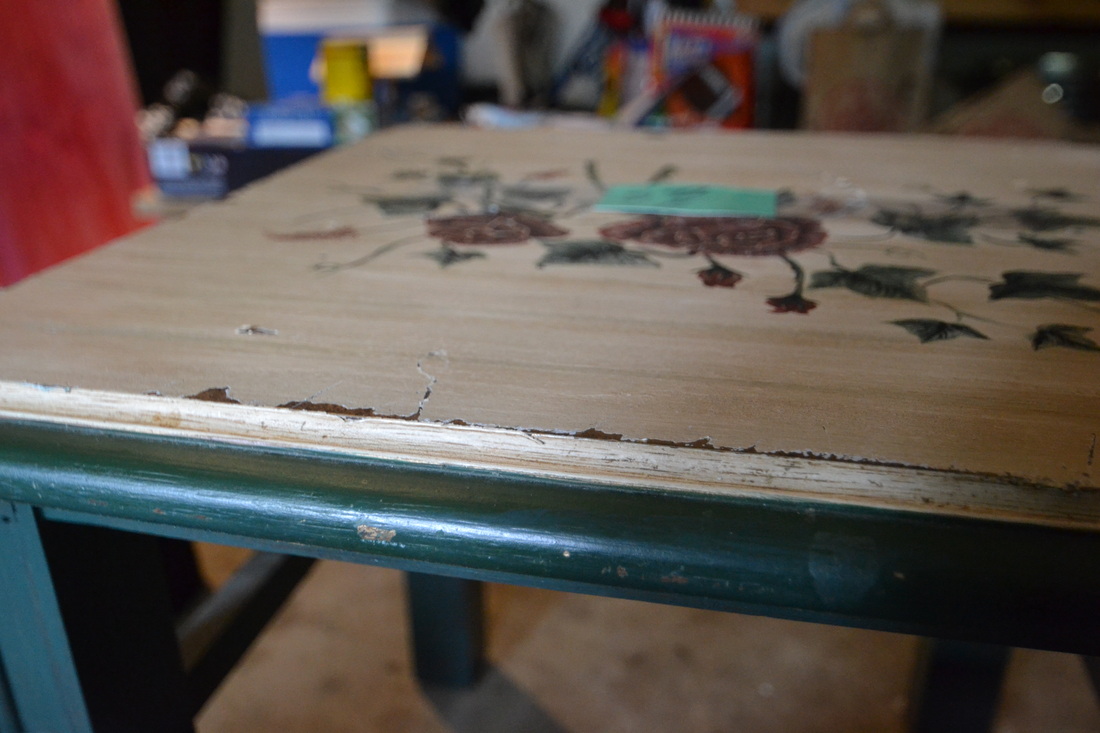
Hunter green, burgundy, stencils, distressing...we've got it all.
It was $5.99 "FIRM," in case you were wondering. They couldn't let it go for a mere $4.99. Obviously!
It was $5.99 "FIRM," in case you were wondering. They couldn't let it go for a mere $4.99. Obviously!
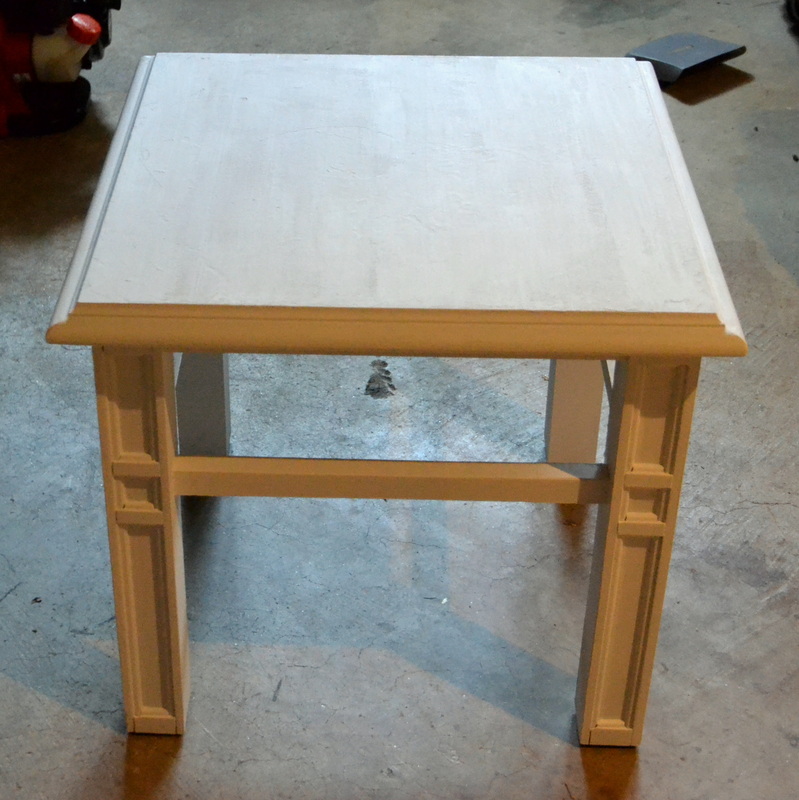
This is how it looked with one coat of Annie Sloan Chalk Paint "Pure White."
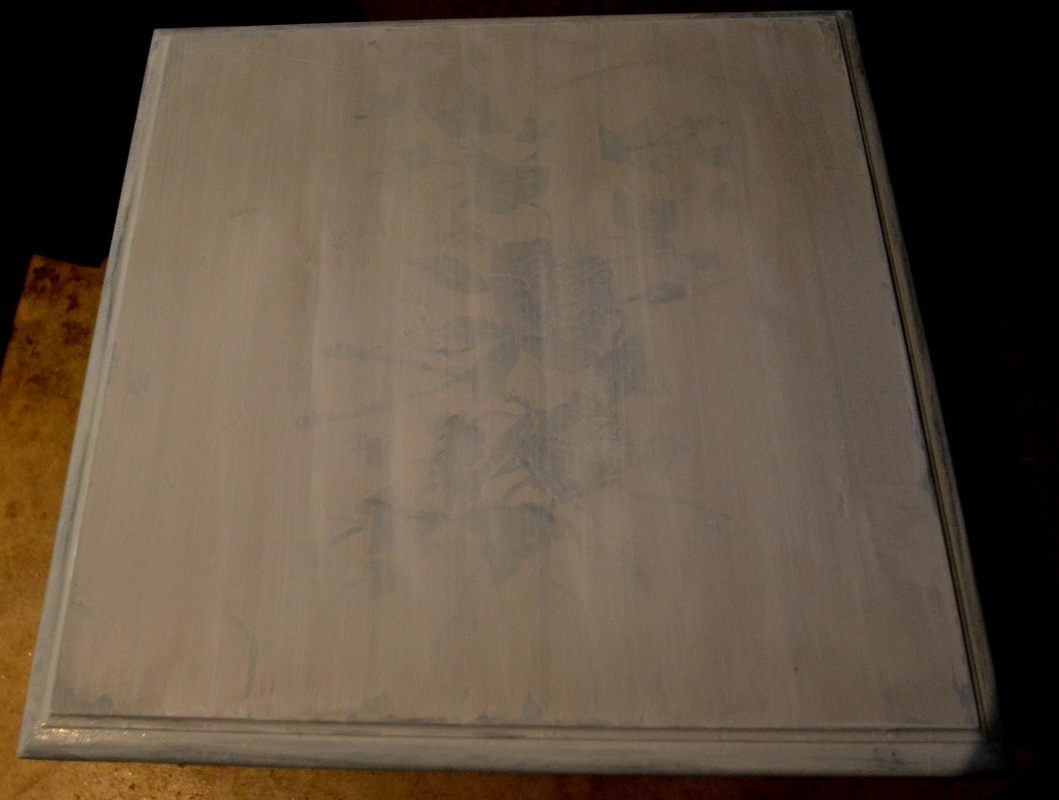
...aaaaand with two coats. My photography skills are lacking,
but believe me, it still looks bad.
Very bad.
The top is a damaged mess, which is only exacerbated by the two coats of white paint I added.
but believe me, it still looks bad.
Very bad.
The top is a damaged mess, which is only exacerbated by the two coats of white paint I added.

It looks like thick primer on top of a terrible paint job.
But...better. Right? Or am I kidding myself?
I'm weighing the options. 1) Throw it in the trash. Seriously.
2) Trick someone into buying it off of Craigslist for $30, MAX.
3) Use an ASCP Louis Blue "wash" and then finishing it off with a soft wax.
I'm leaning towards #3, but I'm seriously considering the other two. Thoughts?
I'm weighing the options. 1) Throw it in the trash. Seriously.
2) Trick someone into buying it off of Craigslist for $30, MAX.
3) Use an ASCP Louis Blue "wash" and then finishing it off with a soft wax.
I'm leaning towards #3, but I'm seriously considering the other two. Thoughts?

Do you know...and LOVE...the movie "What About Bob?" My friend Julie and I watched it endlessly through college and beyond. And I was just thinking about the time Bob said {after "sailing"--as a passenger, no less--exactly once}: "I sail! I'm a sailor!"
That's me. I'm officially proclaiming myself a thrifter. I LOVE IT.
Even though, like Bob, I've only gone one time...before this, that is.
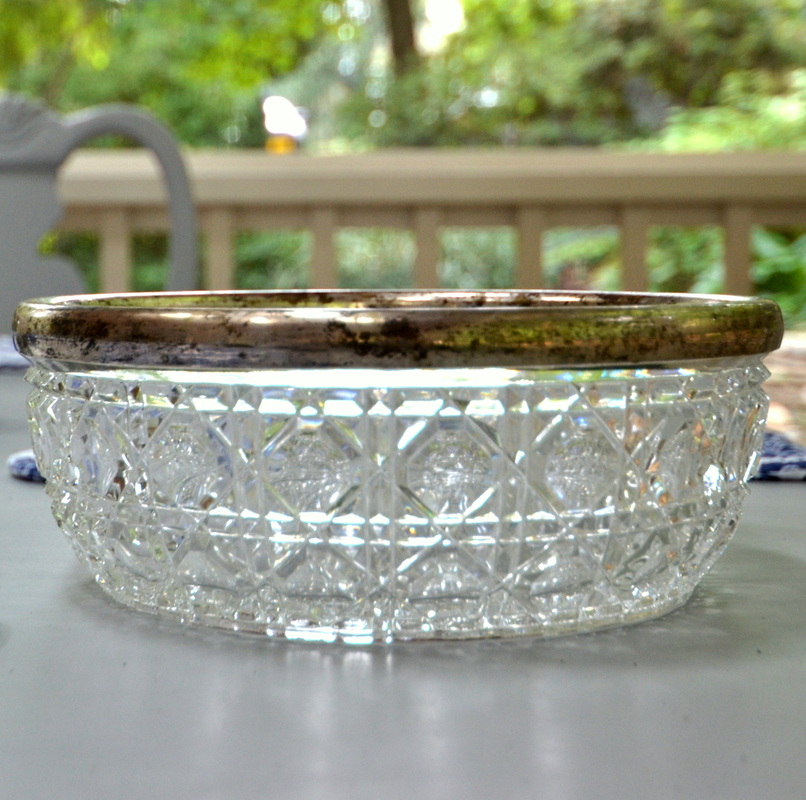
Look what I got for $4.02 total!
First, a cut-glass bowl with a pewter rim for less than two bucks.
This is going to look so pretty with my Plain-Jane wedding china:
That's me. I'm officially proclaiming myself a thrifter. I LOVE IT.
Even though, like Bob, I've only gone one time...before this, that is.
Look what I got for $4.02 total!
First, a cut-glass bowl with a pewter rim for less than two bucks.
This is going to look so pretty with my Plain-Jane wedding china:
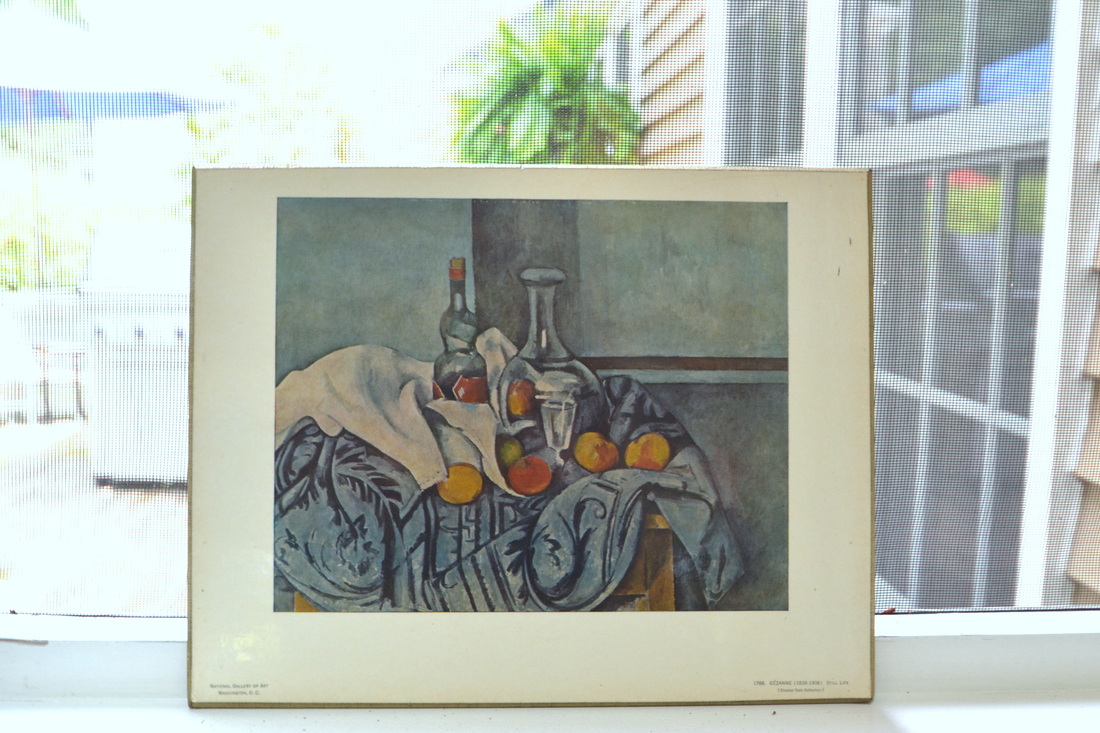
And second, a small mounted still life which is currently propped up
in my kitchen looking totally perfect:
in my kitchen looking totally perfect:
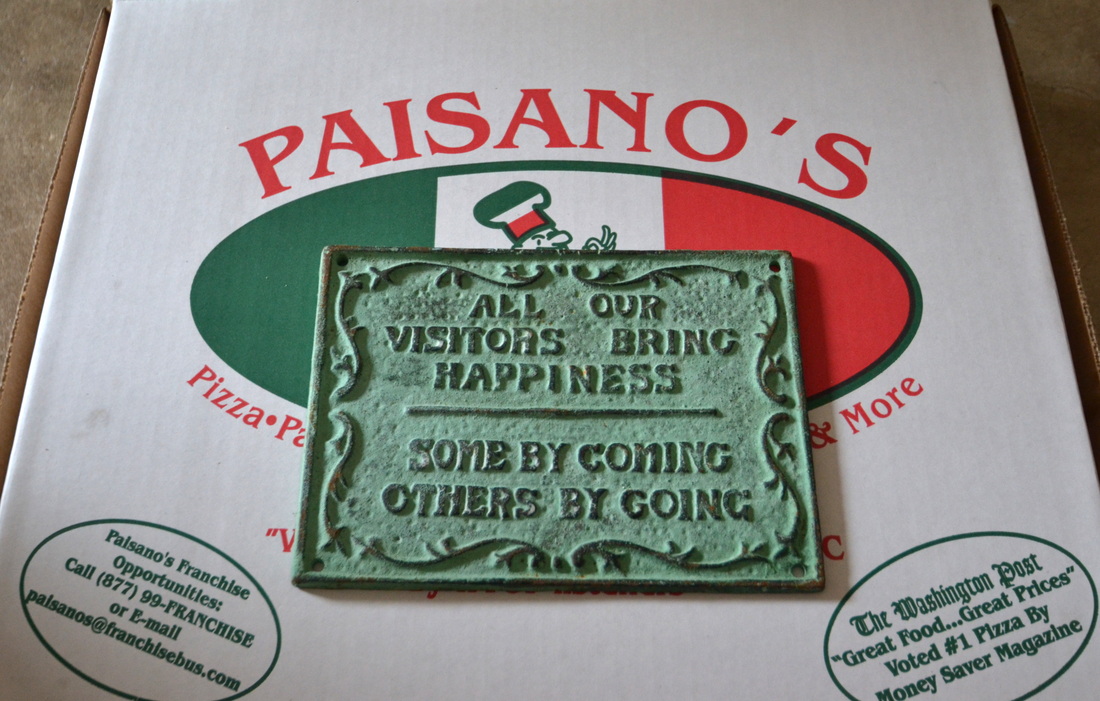
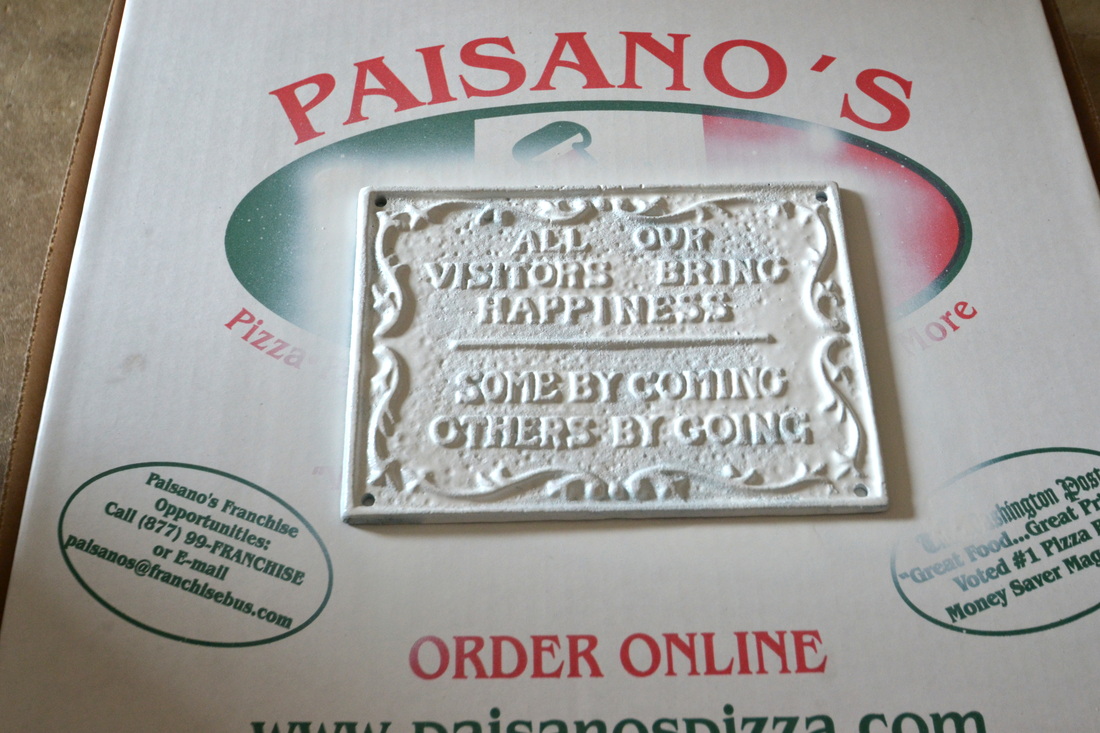
I also repainted the little sign I got at the beach. You may remember that it looked like this originally {I liked the green, it just didn't fit in with my house}. And yes, I'm highly professional, using a pizza box as a drop cloth...take notes people.
I had some white spray paint left over from painting my Adirondack chairs:
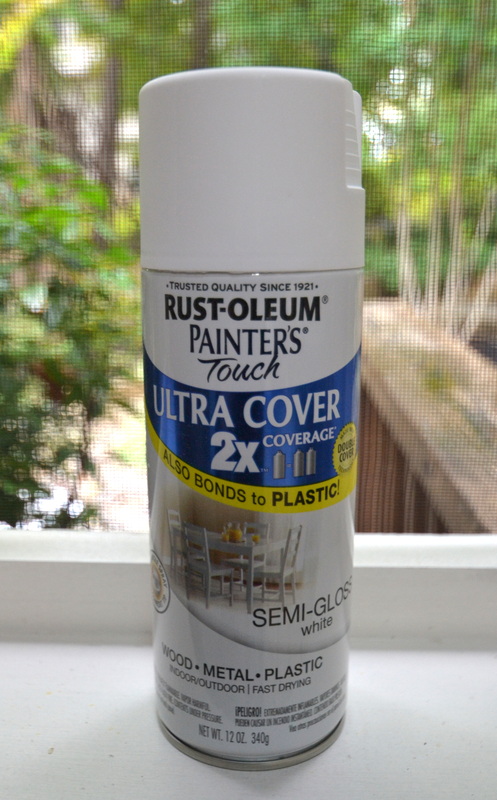
One coat and I was good to go.
I sanded over the letters with fine sandpaper, but it didn't look that great:
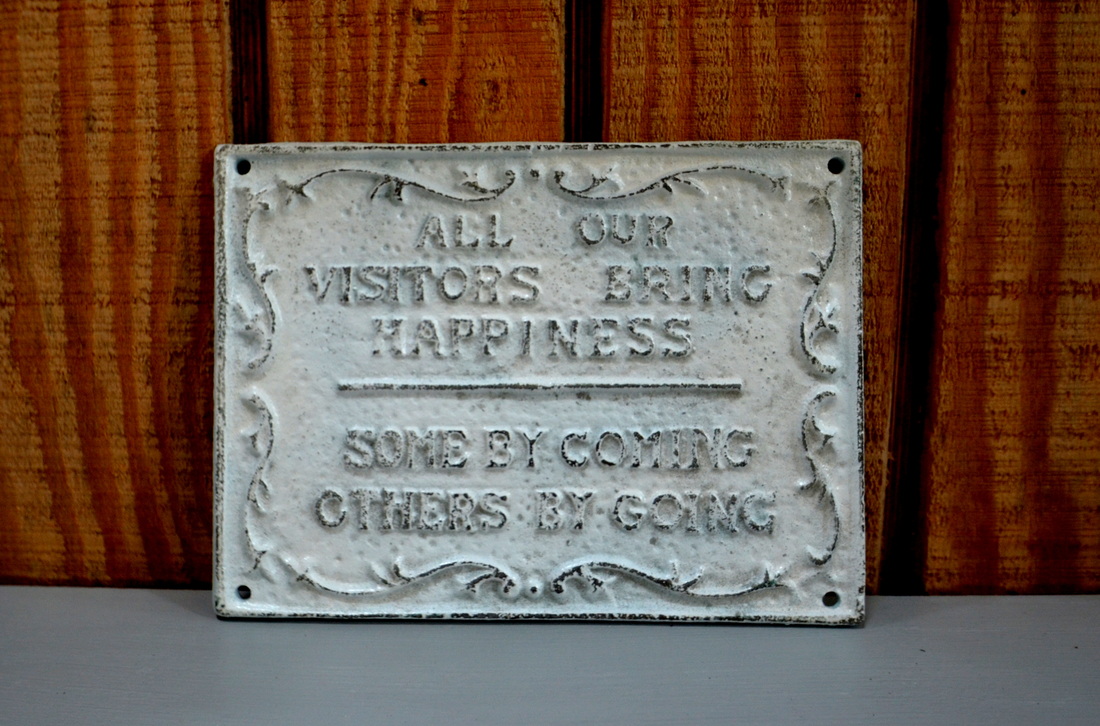
So I used a pencil to define the letters a bit more:
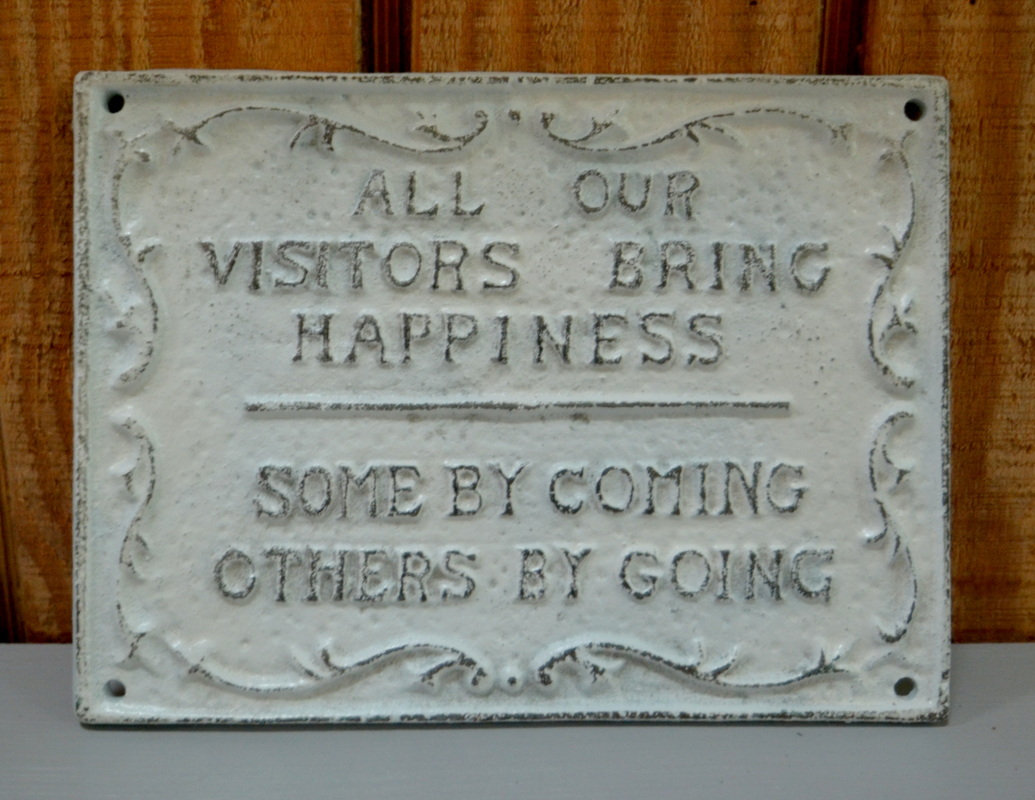
I still need to mount it on a board and hang it
in my soon-to-be-completed {???} front entry, but I like it so far. What do you think?
in my soon-to-be-completed {???} front entry, but I like it so far. What do you think?

Sharing over at Southern Hospitality

&rlz=1C5CHFA_enUS527US528&source=lnms&tbm=isch&sa=X&ei=H932UayqM-b_4AOa0IHYDg&ved=0CAkQ_AUoAQ&biw=1163&bih=561#facrc=_&imgrc=PDC_9Tz1ljkoCM%3A%3BDic21TdRbcdjZM%3Bhttp%253A%252F%252Fwww.mosaictileco.com%252FTile%252520Images%252520-%252520Zoom%252FNatural%252520Stone%252FMarble%252FWooden-White_9up.jpg%3Bhttp%253A%252F%252Fwww.mosaictileco.com%252Fnatural_stone_wooden_white_marble_tile.htm%3B400%3B400)